I have to share this Taco Bake recipe. My family LOVES this stuff! The recipe will make one 9 x 13 in. pan. We love casseroles in this house. Not only are they pretty easy and quick to whip up but it’s a great way to use up our left-overs. If you have left-over Taco’s in your fridge, this recipe will be your best friend! If you don’t have left-over taco’s, you can still make this from scratch in about 30 minutes.
Here is what you will need:
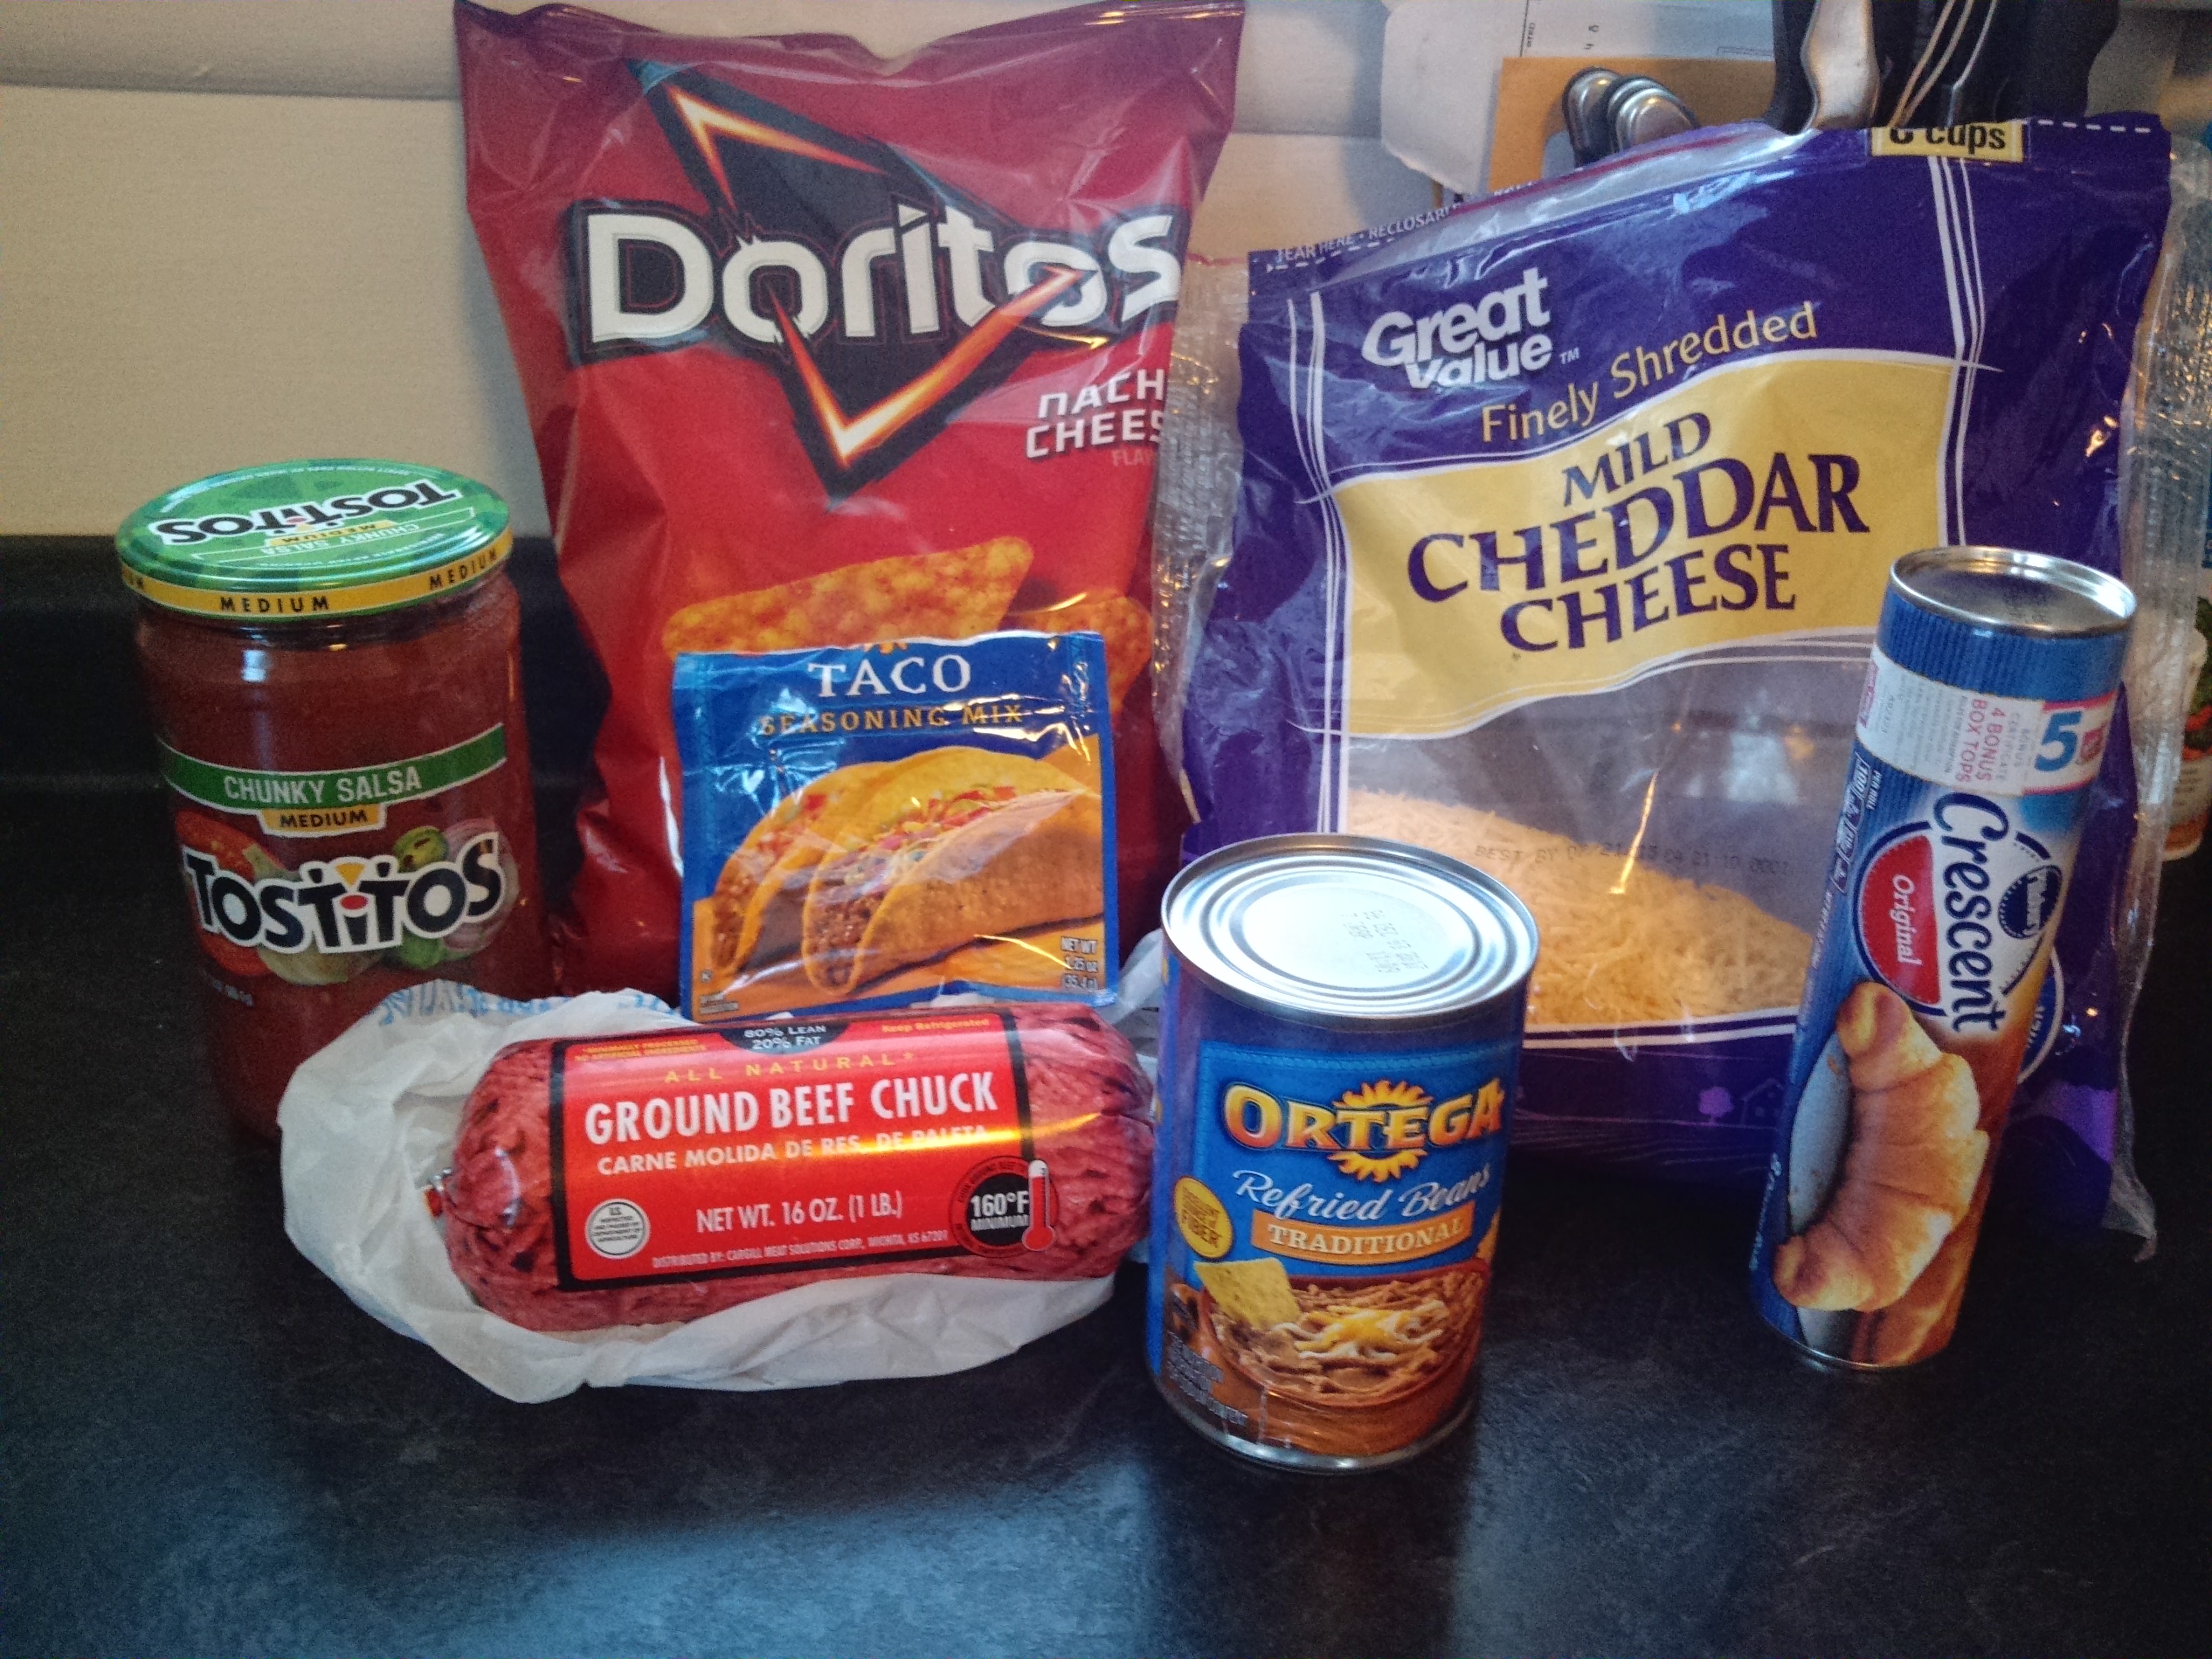
1. 1 lb of Burger
2. Taco Seasoning
3. Salsa (I used mild for the kids, use what ever your family likes best)
4. 1 roll of Crescent Rolls
5. 1 Bag of cheese. I just used up the left over bag of cheese I had.. the amount of cheese depends on your taste buds 🙂
6. 1 can of refried beans
7. 3-4 cups of Nacho Cheese Doritos. (Again the amount depends on your liking, but you will need enough to layer the top)
1. Start by browning your burger in a skillet. While burger is cooking, warm up the refried beans in a small sauce pan on low.
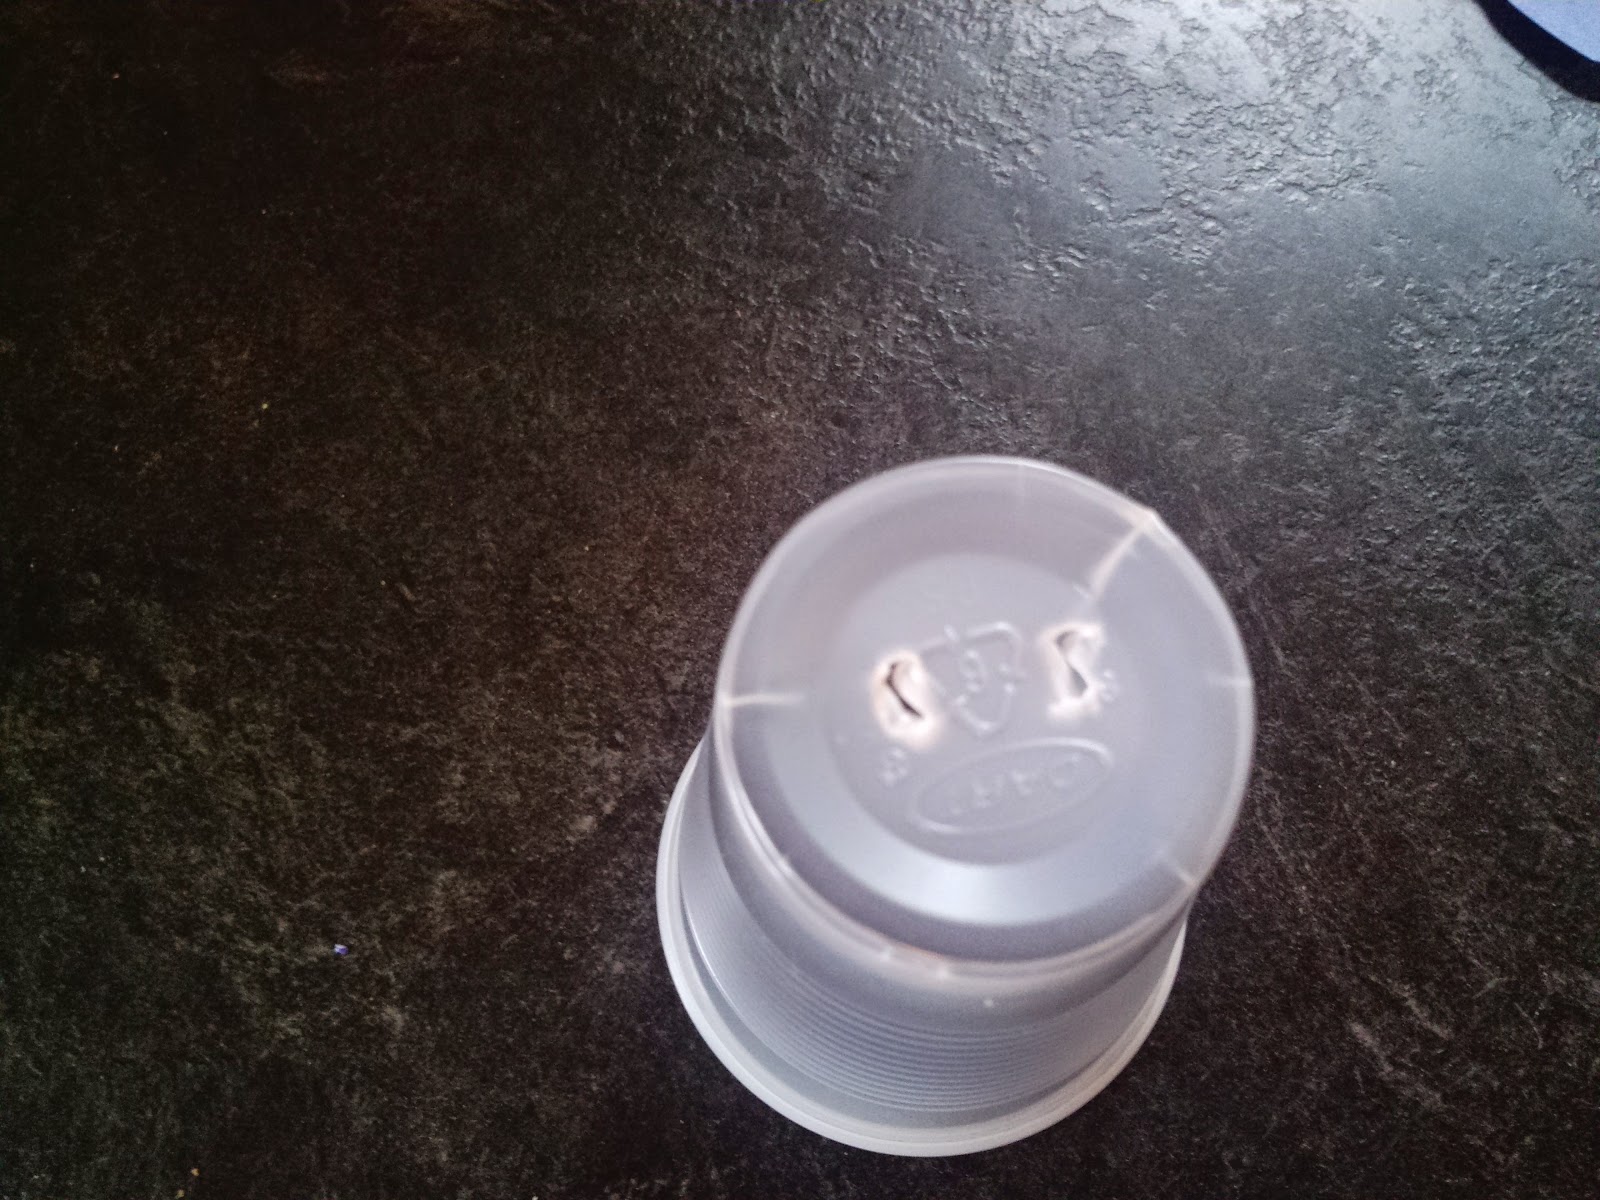
2. While those are both cooking you can crush up your Doritos. Open the bag.. Eat 1 or 2.. or 10 lol.. then grab a small bowl and a cup to smash them up, Like this:
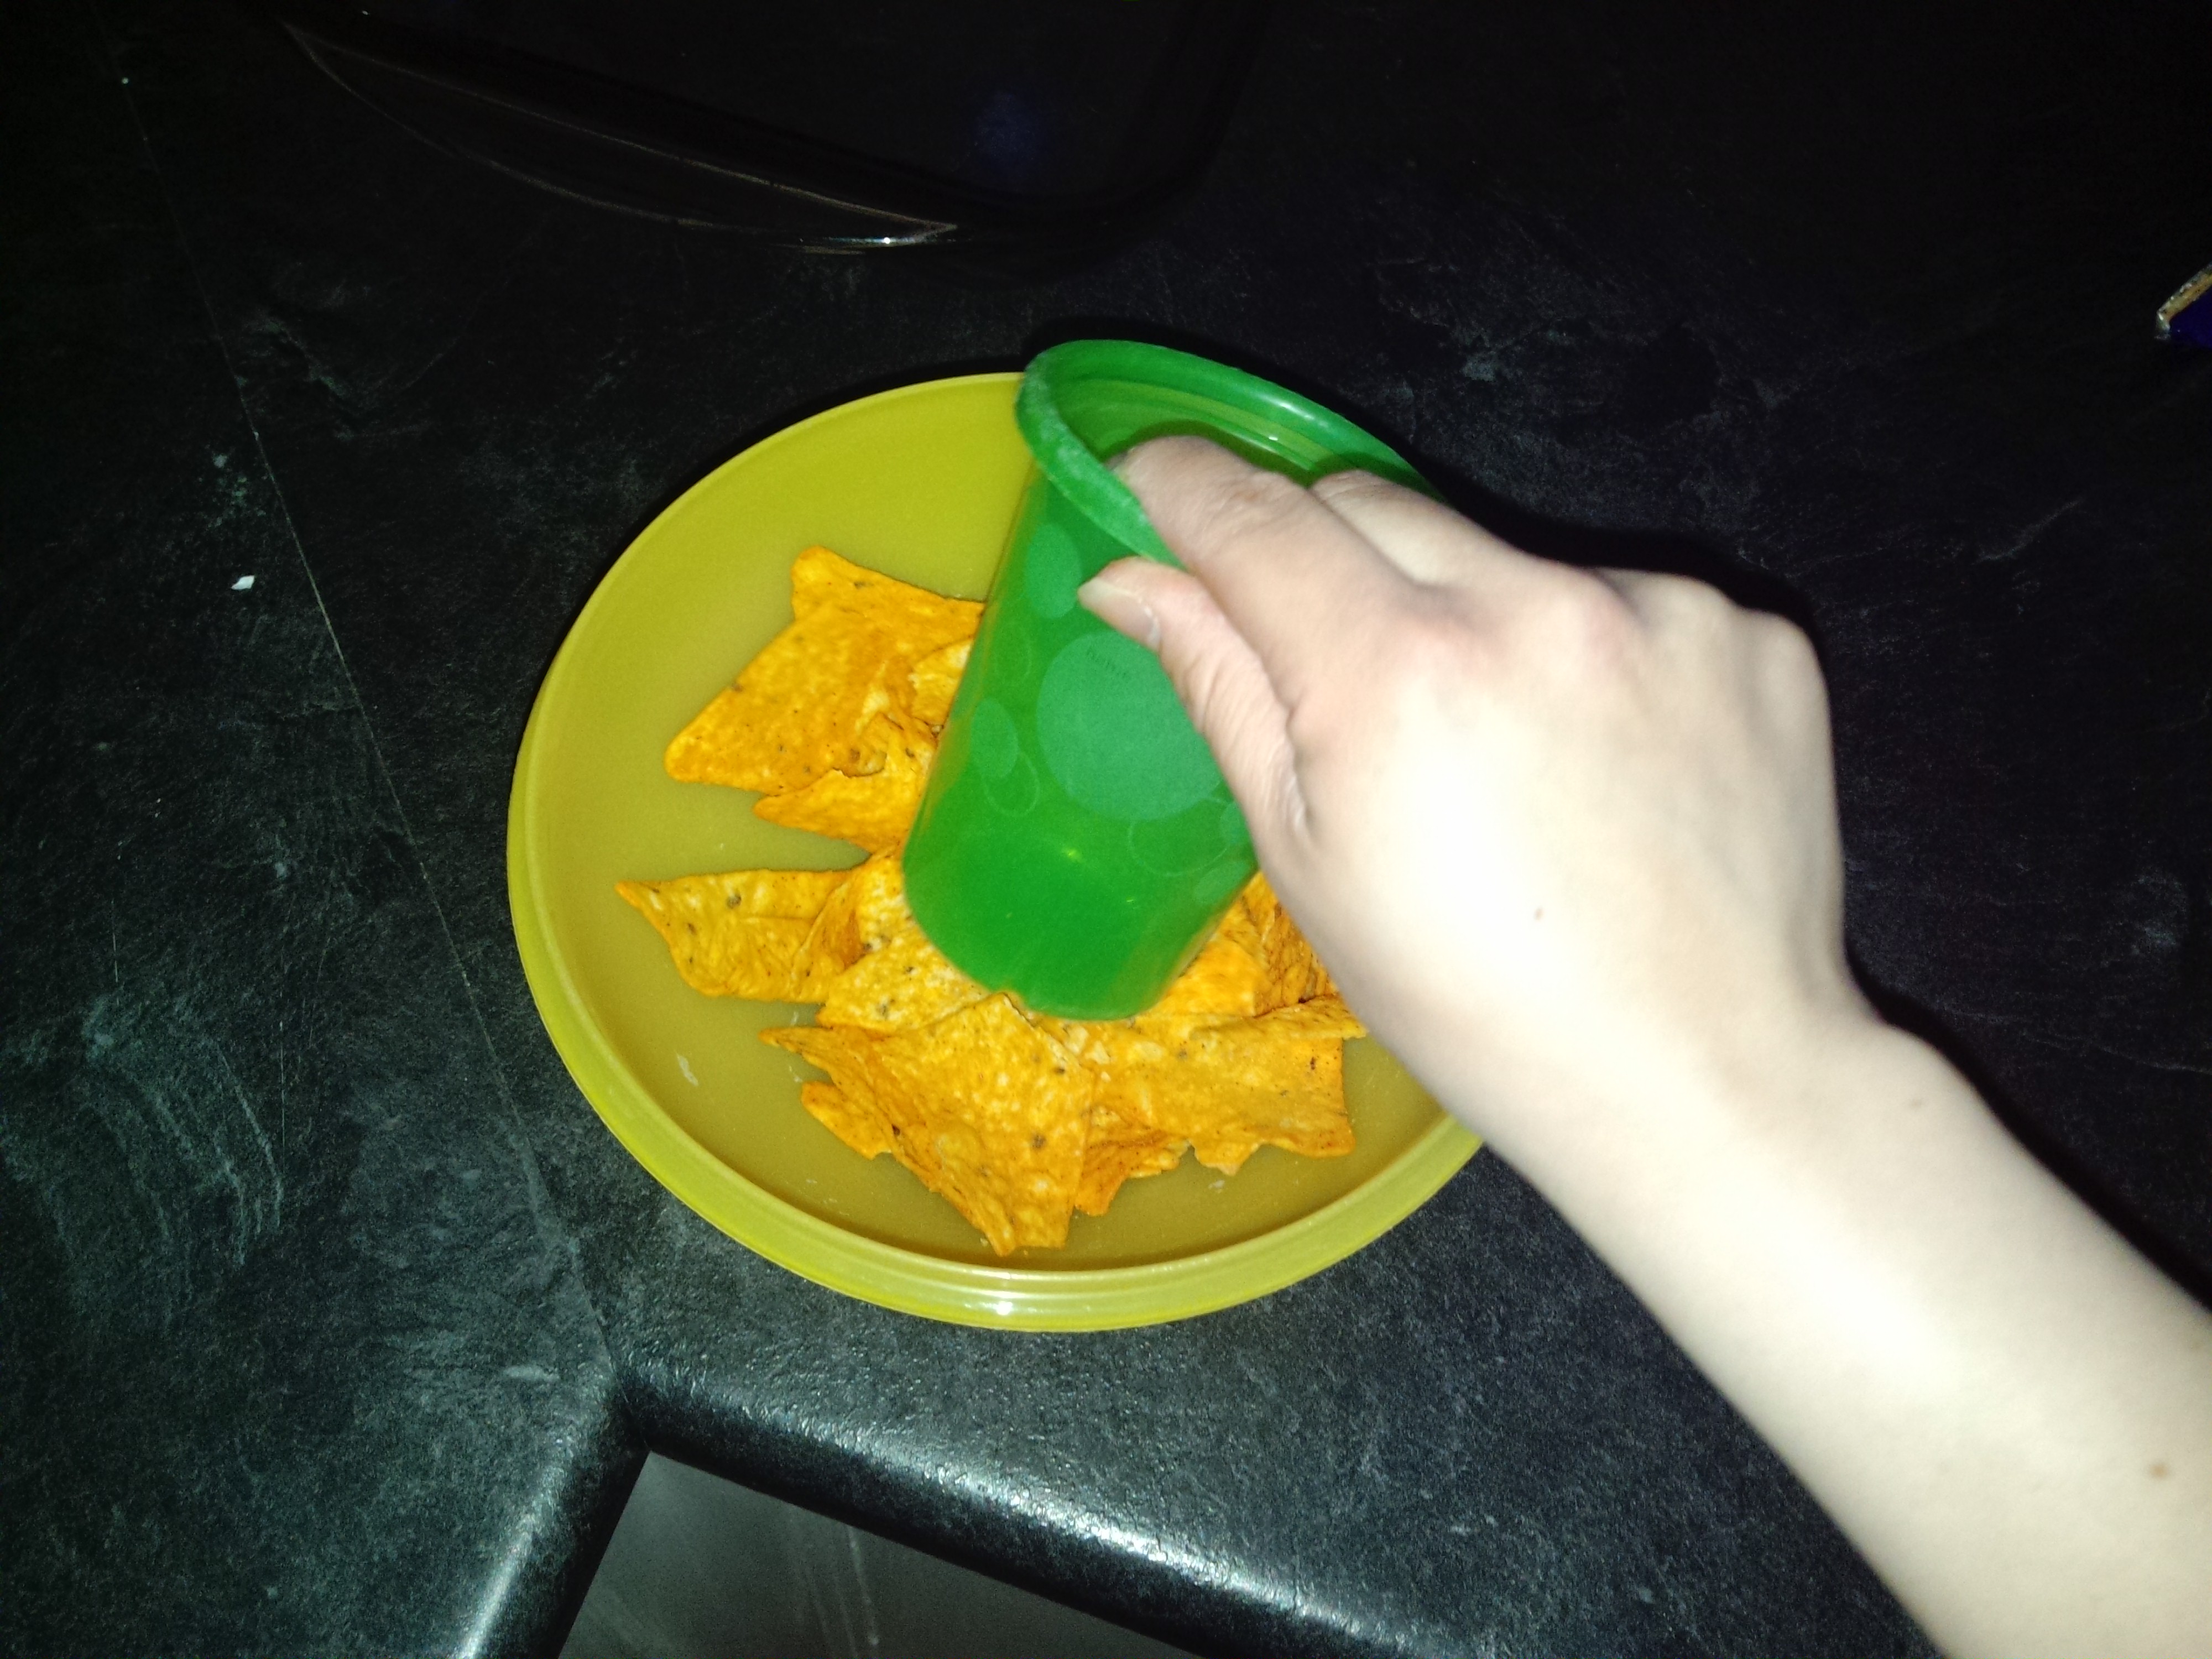
Crush them up into crumb size pieces.
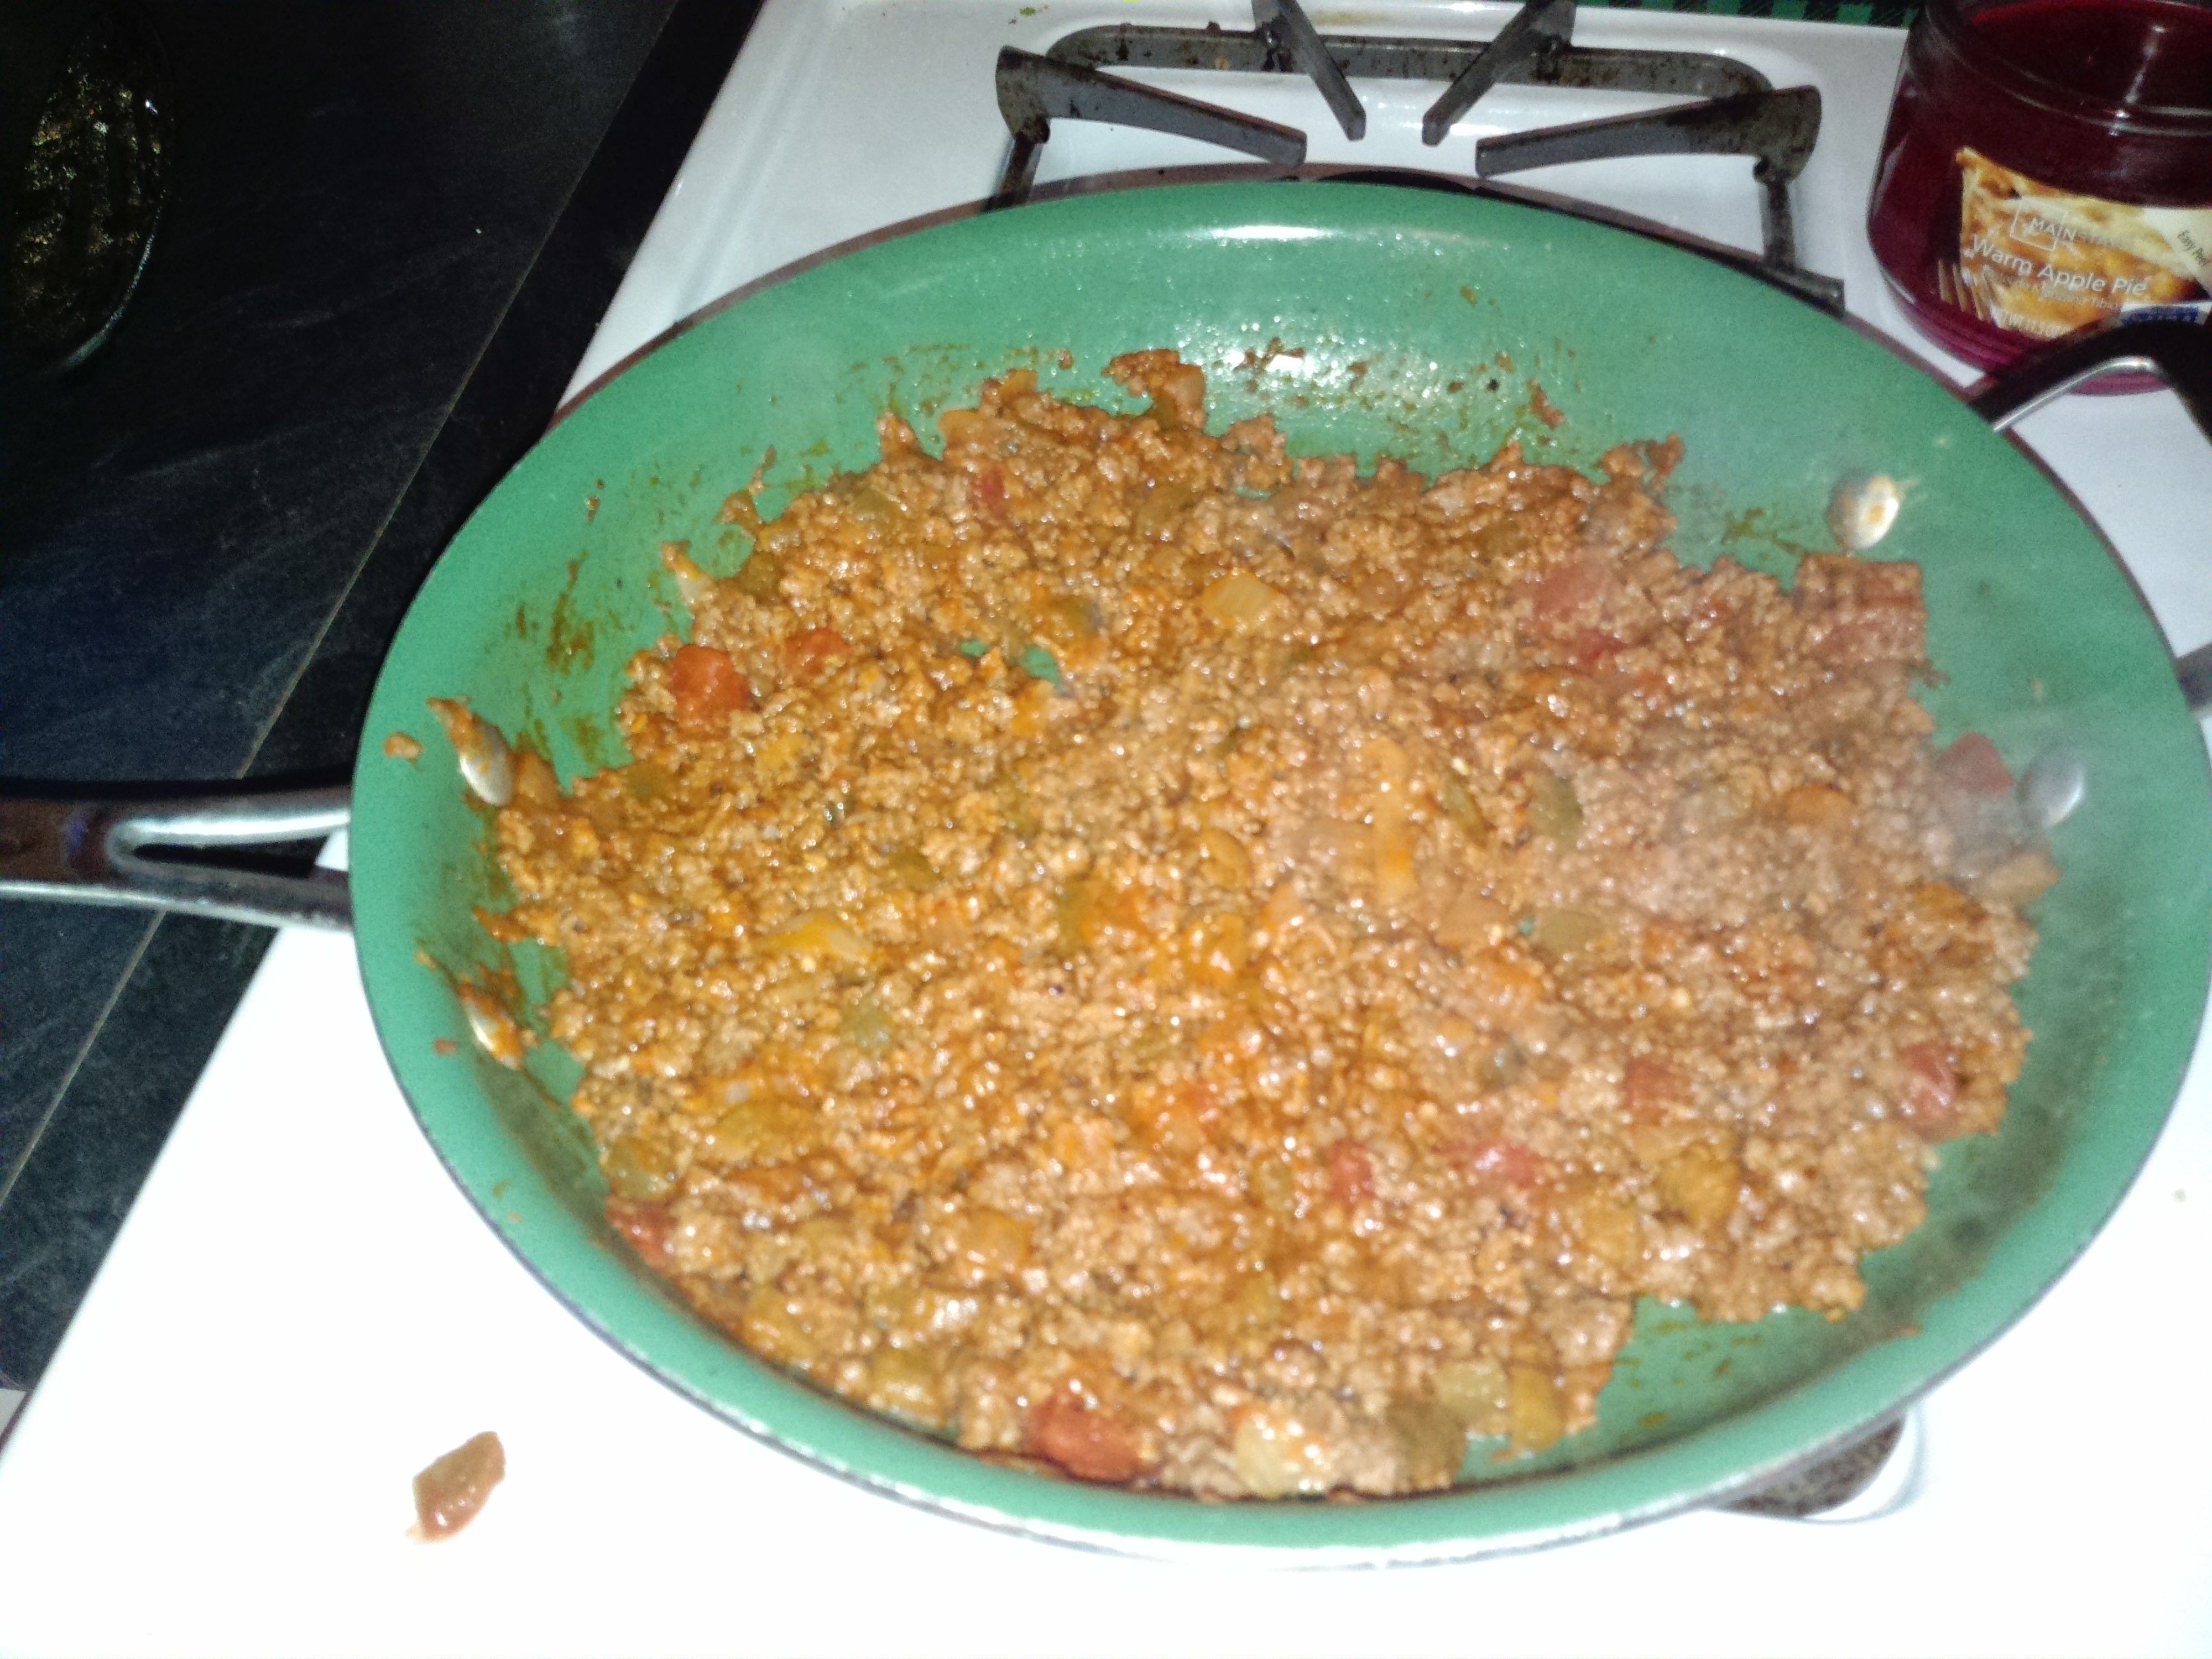
3. Preheat oven to 400. Drain the burger and place back into skillet. Sprinkle about half the bag of taco seasoning over top of the burger. Then spoon the salsa on top of seasoning. Try to drain the salsa so it is not runny just chunky. You will be putting this mixture on top of the crescent rolls and you do not want them soggy. Mix this all together and turn the heat back on low and simmer this for about 7 minutes.. Basically until its a thick mixture almost like sloppy joes.. Like this:
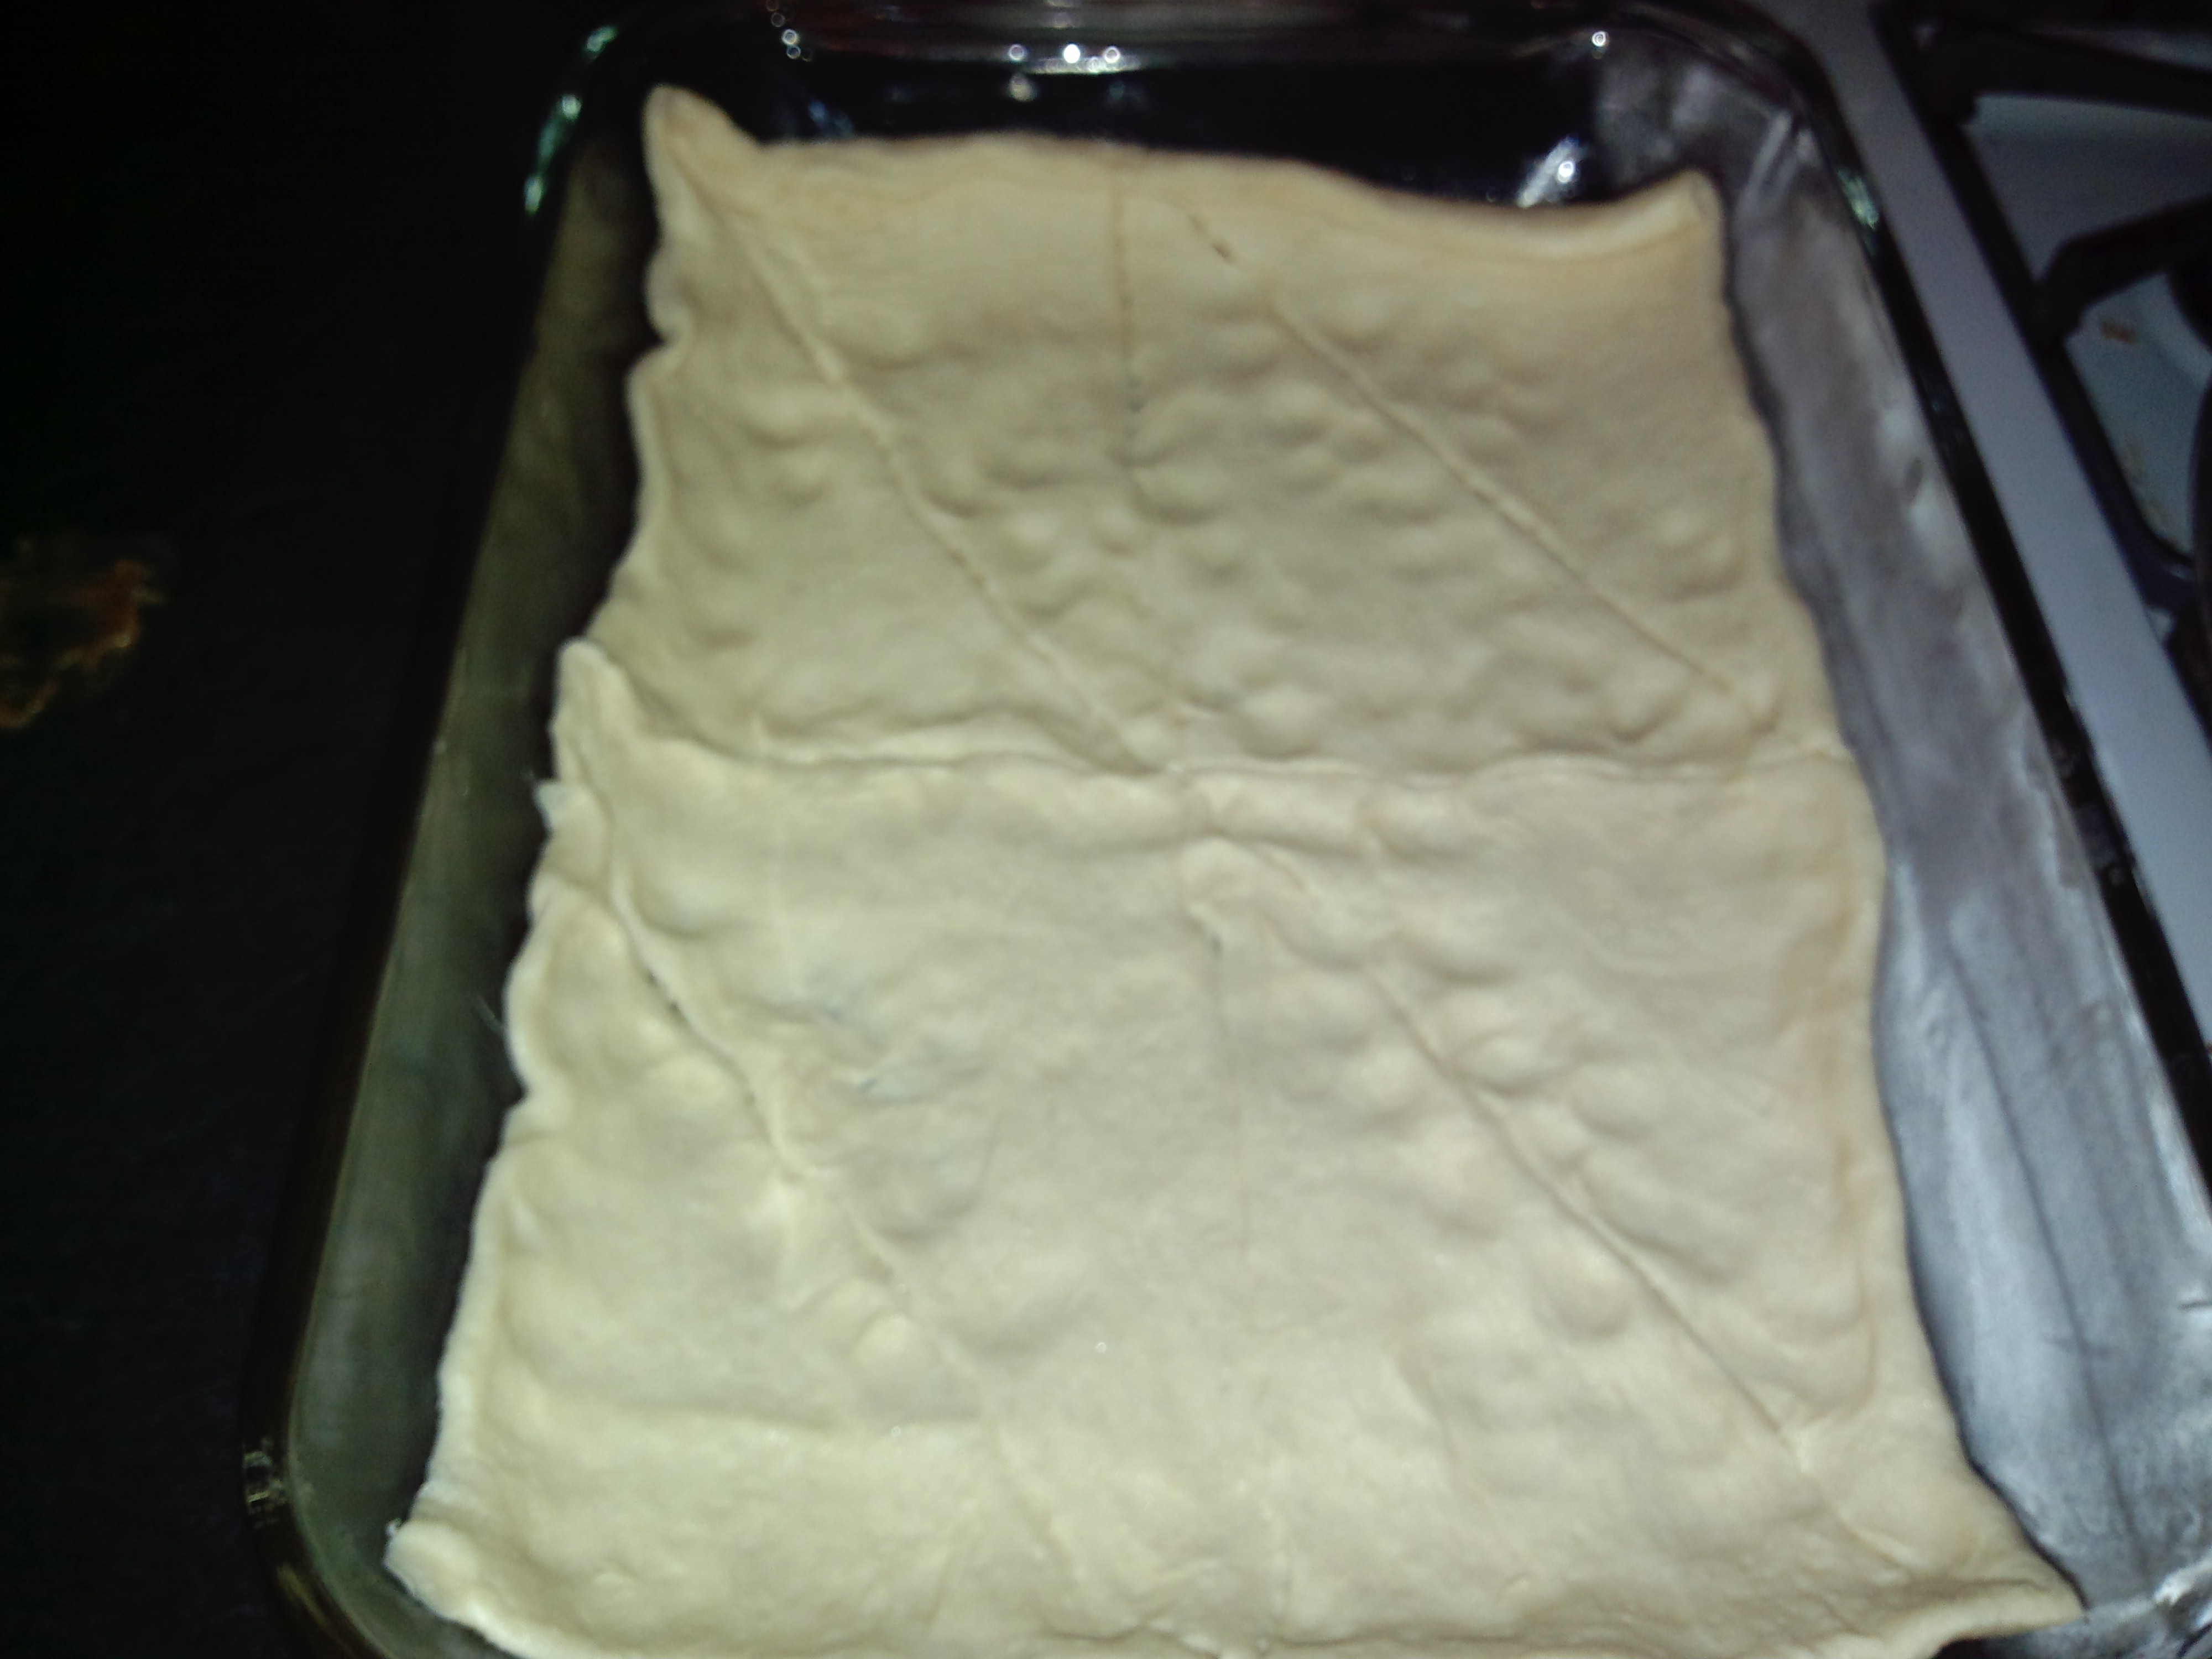
4. Once the beans and burger are done turn them off and start lining your 9 x 13 in. pan with the crescent rolls. Unroll the crescents together by sticking it to the side of the pan. Continue to unroll the crescents together to the other side of the pan. Press any gaps together with your fingers. Your pan should now look like this:
5. Now scoop your burger mixture on top of this making it a flat layer like you would with lasagna.
6. Do the same with your refried beans. Sprinkle a layer of cheese on top of the beans. Like this:

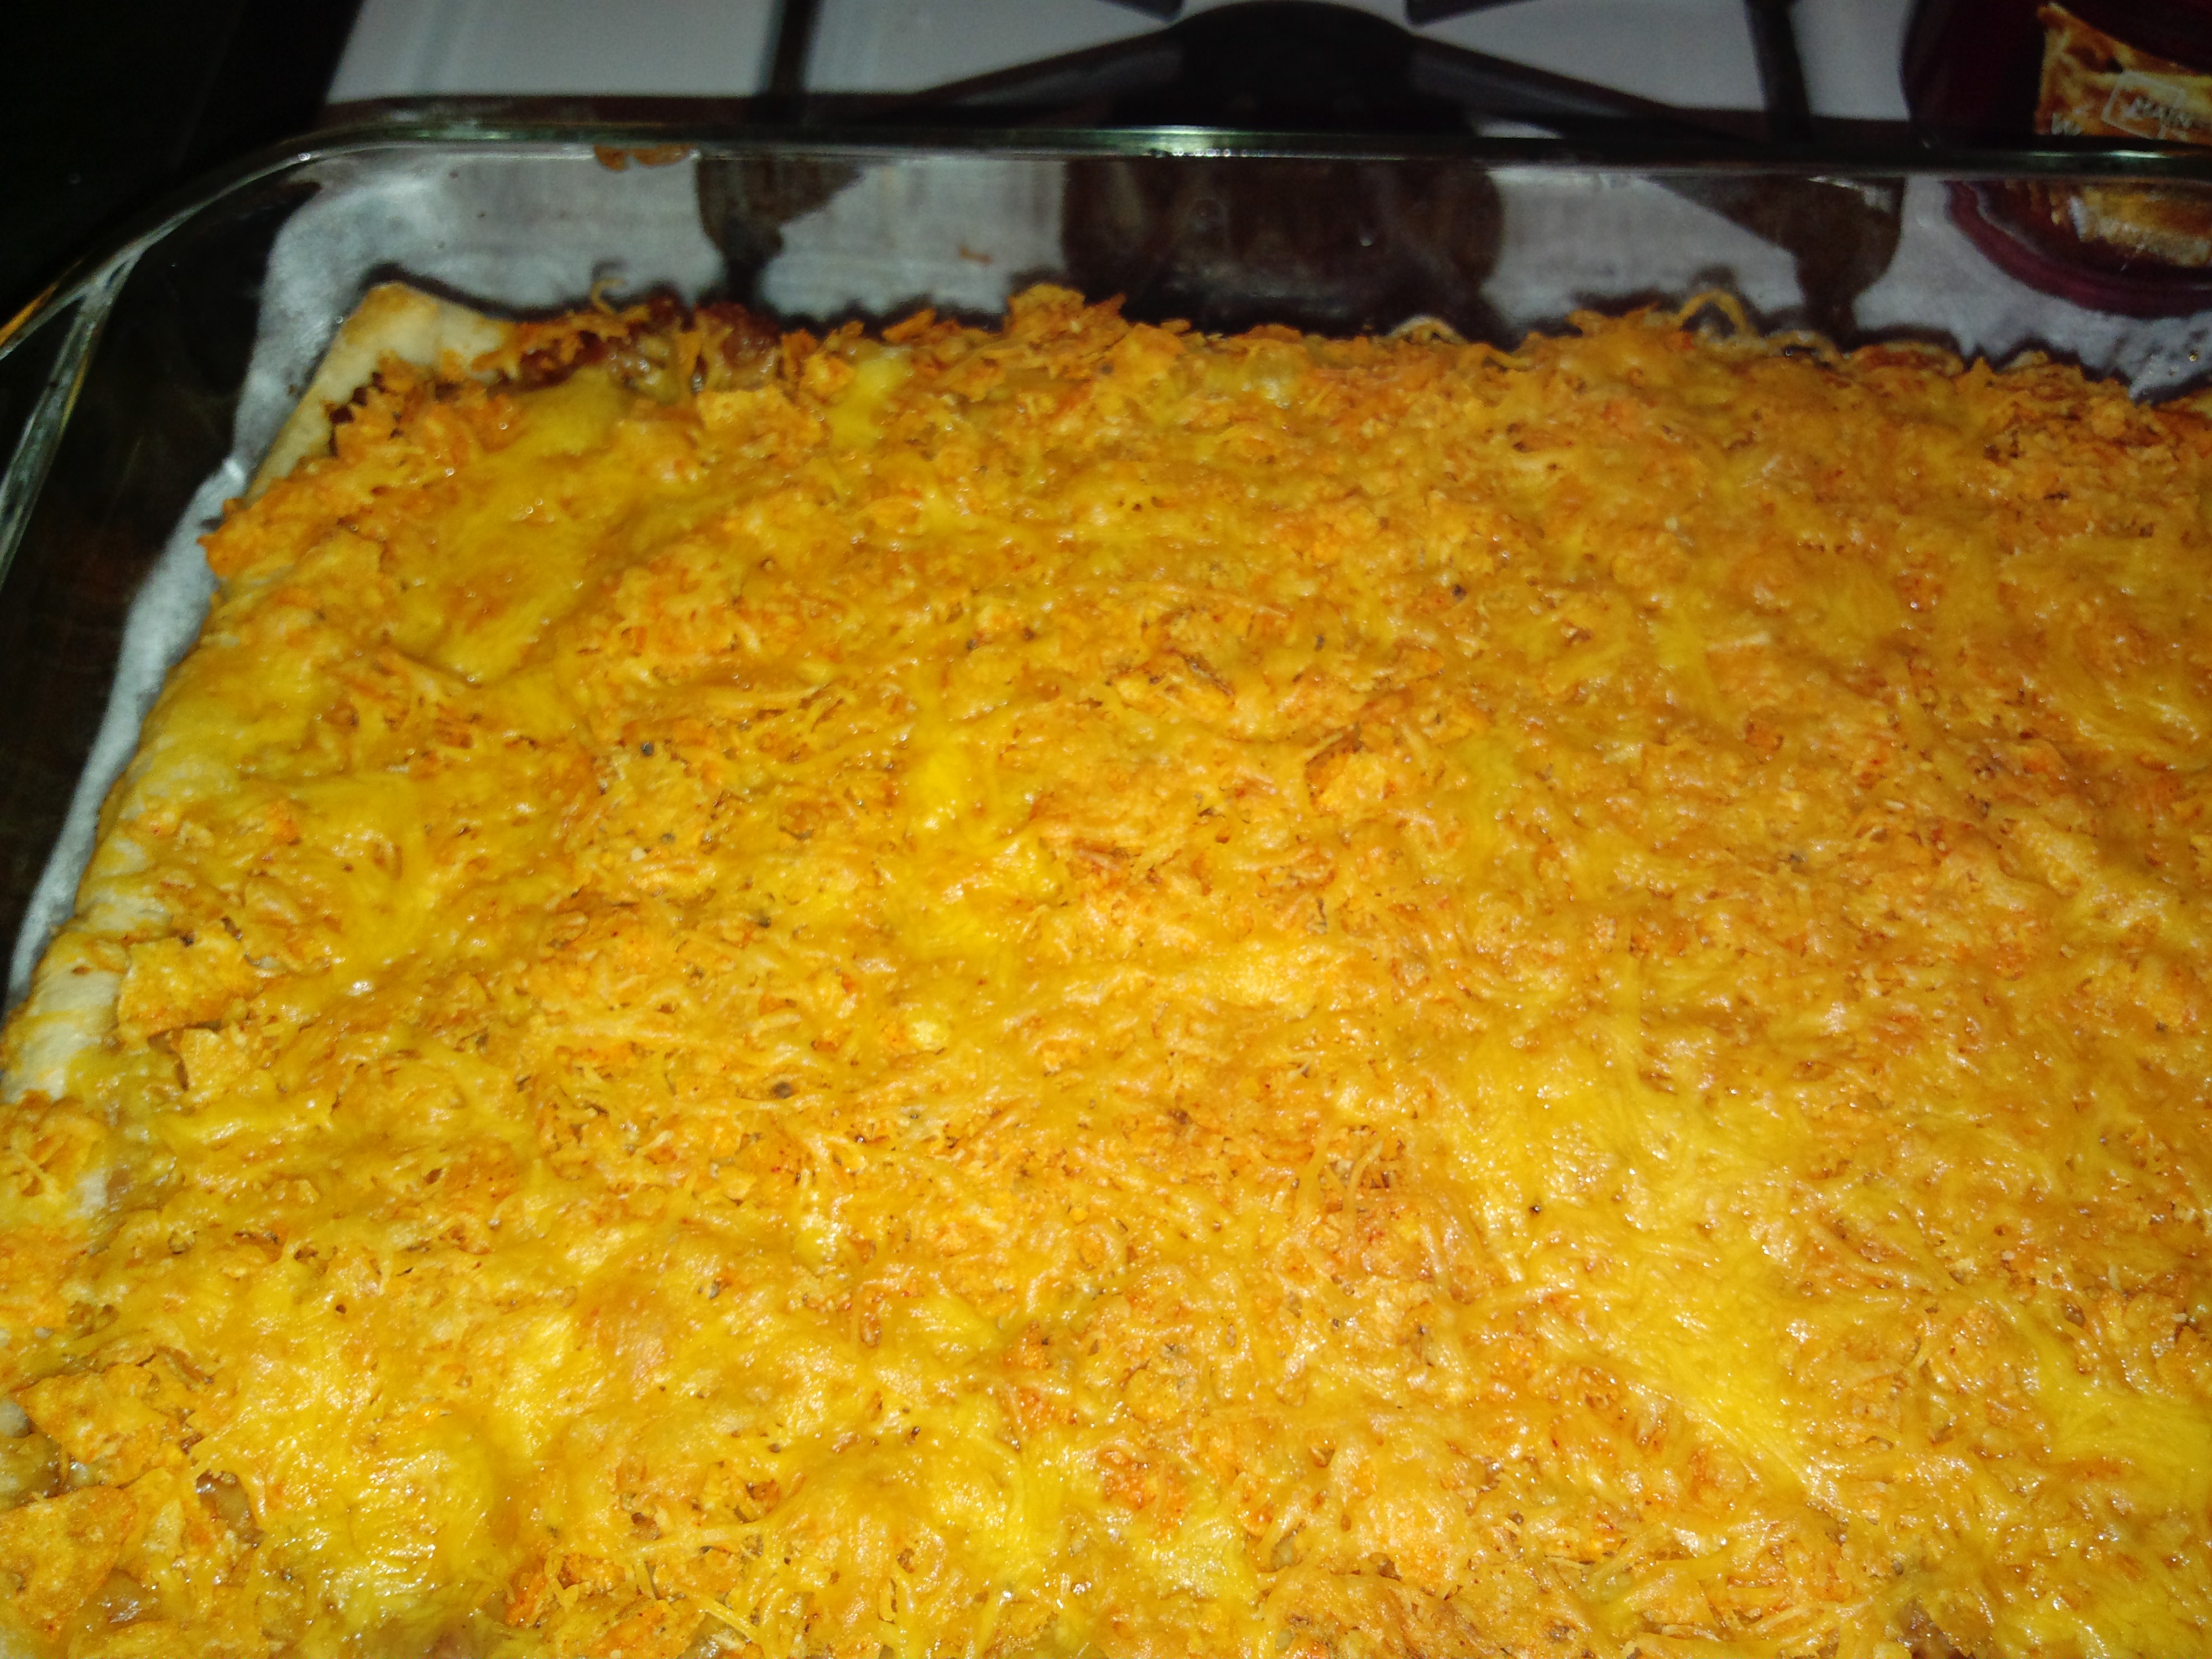
7. Now add the crushed Doritos to the top and sprinkle some more cheese over the Doritos. It should look like this now:

8. Now pop the pan in the oven for 10-13 minutes or until the crescent starts turning a golden brown color and the cheese is melted.
9. Pull it out.. wait about 5-10 minutes to cool..then dig in!!

Yummmmmmm!