Monthly Archives: August 2014
Work At Home as a Photographer!

Are you a great photographer?? You can turn your passion for photography into your own business and run it out of your home. If you have a spare room in your house you could make your own studio. You can even use your back yard or garden for photo shoots. Ask friends and family to do free photo shoots with you to gain field experience. Get some business cards to pass around. You can market an online portfolio on social media sites and build your own website. You can also get paid to take stock photo’s and upload them to certain websites. There are a few different sites that you can use. All of the websites are pretty user friendly, You basically just upload your stock photos and wait for someone to buy them. While you can’t make a living off of your profits from these websites, they help build your online profile and it gets your name out there! You can also make an account on Instagram to show off all your photos to family and friends. Here are a few websites that pay your for your photos:
1. Dreamstime- Use reference code: res7978613 when creating your account. This site allows you to upload your images, choose your price, then wait for someone to buy your photo.
2. Shuttershock– Same concept as Dreamstime.
3. Alamy- You upload your photos and will receive 60% royalties on all your stock photos.
4. LookBetterOnline- You can get paid by taking photos of people to use for their online profiles.
5. BigStockPhoto- You receive .50 cents for every purchase of your photo
Get paid to Blog!
Do people trust you and your opinions? Do you have the gift of gab? You can become a blogger and work at home. There are tons of people making legitimate money from their blogs. You can set up your own free blog on websites like Blogger and WordPress. There are many different ways you can make money from blogging. Some people use their blogs to review products and companies pay them to do so. Some people use their blogs to market their own products and make money by selling them online. Some people just blog for personal reasons and gain an audience and use things like Google Ads or affiliate programs to make money from their blogs. Blogging is a great way to make money at home. It does take some time to build good content for your blog and it also takes time to spread the word and get people interested in what you have to say. It most defiantly wont happen overnight but once you gain a good audience and continue marketing yourself, you can generate a part-time income. I have also found some companies who will pay you to blog once your blog qualifies with their guidelines. Here’s a few:
1. PayU2blog.com- They bring businesses and bloggers together. They offer bloggers the opportunity to blog about a product or company who will in turn pay you. Pay is every two weeks via PayPal.
2. SponsoredReviews.com- Same concept as above. Pay is every two weeks via PayPal.
3. Inhomeproducttesting.com– This company offers bloggers products to review on their sites. Pays in rewards points you can redeem for online gift cards.
4. Business2bloggers.com– This company offers bloggers to review businesses on their blogs. Pays per blog post via PayPal.
5. Linkfromblog- This company also connects bloggers to advertisers. You can choose your own price for a paid blog review.
6. PayPerPost.com– PayPerPost advertisers will pay you for your opinion on various topics.
Butterfly cup puppets
Hmmm.. Another rainy day in Michigan..So we decided to get crafty today! We are sharing how to make your own butterfly cup puppets! These are super cute, fun to make, and fun to play with 🙂

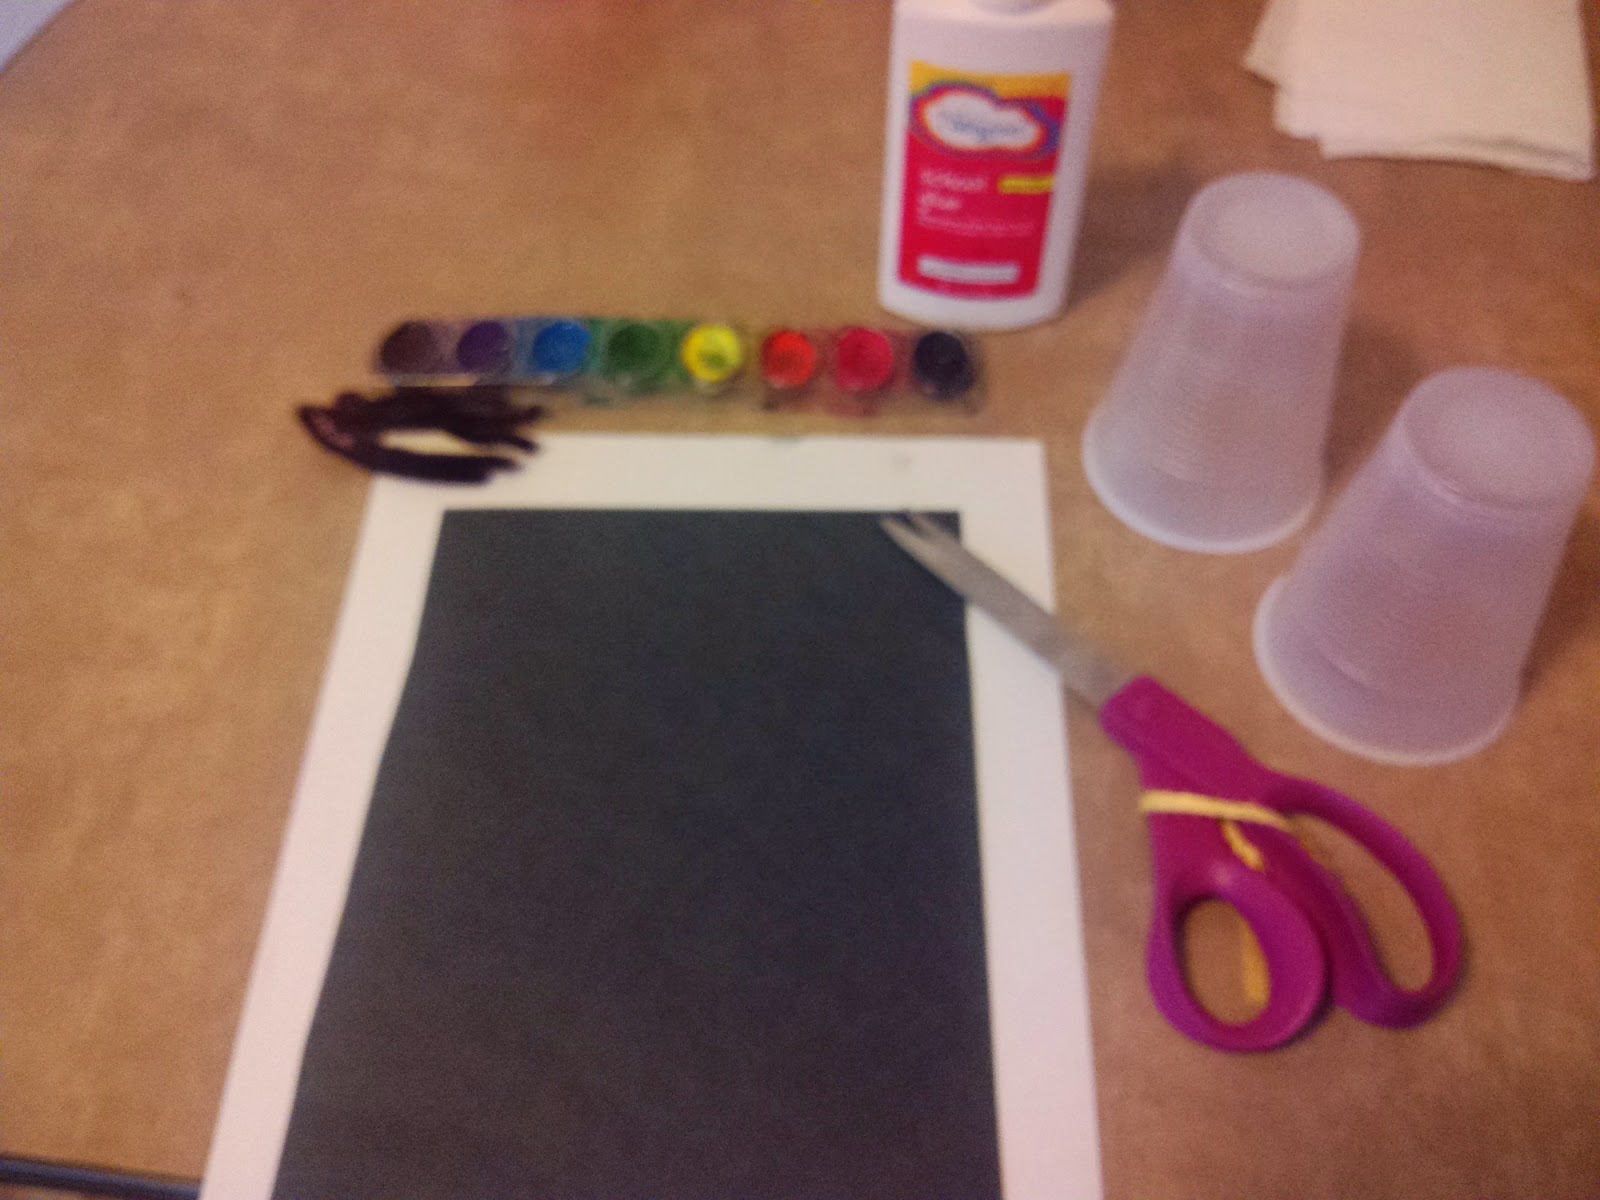
Here is what you will need:
1. Plastic cups
2. Glue
3. White paper (we used printer paper, you can also use construction paper)
4. Scissors
5. Pipe cleaners
6. Paint, markers, or crayons
7. Black construction paper
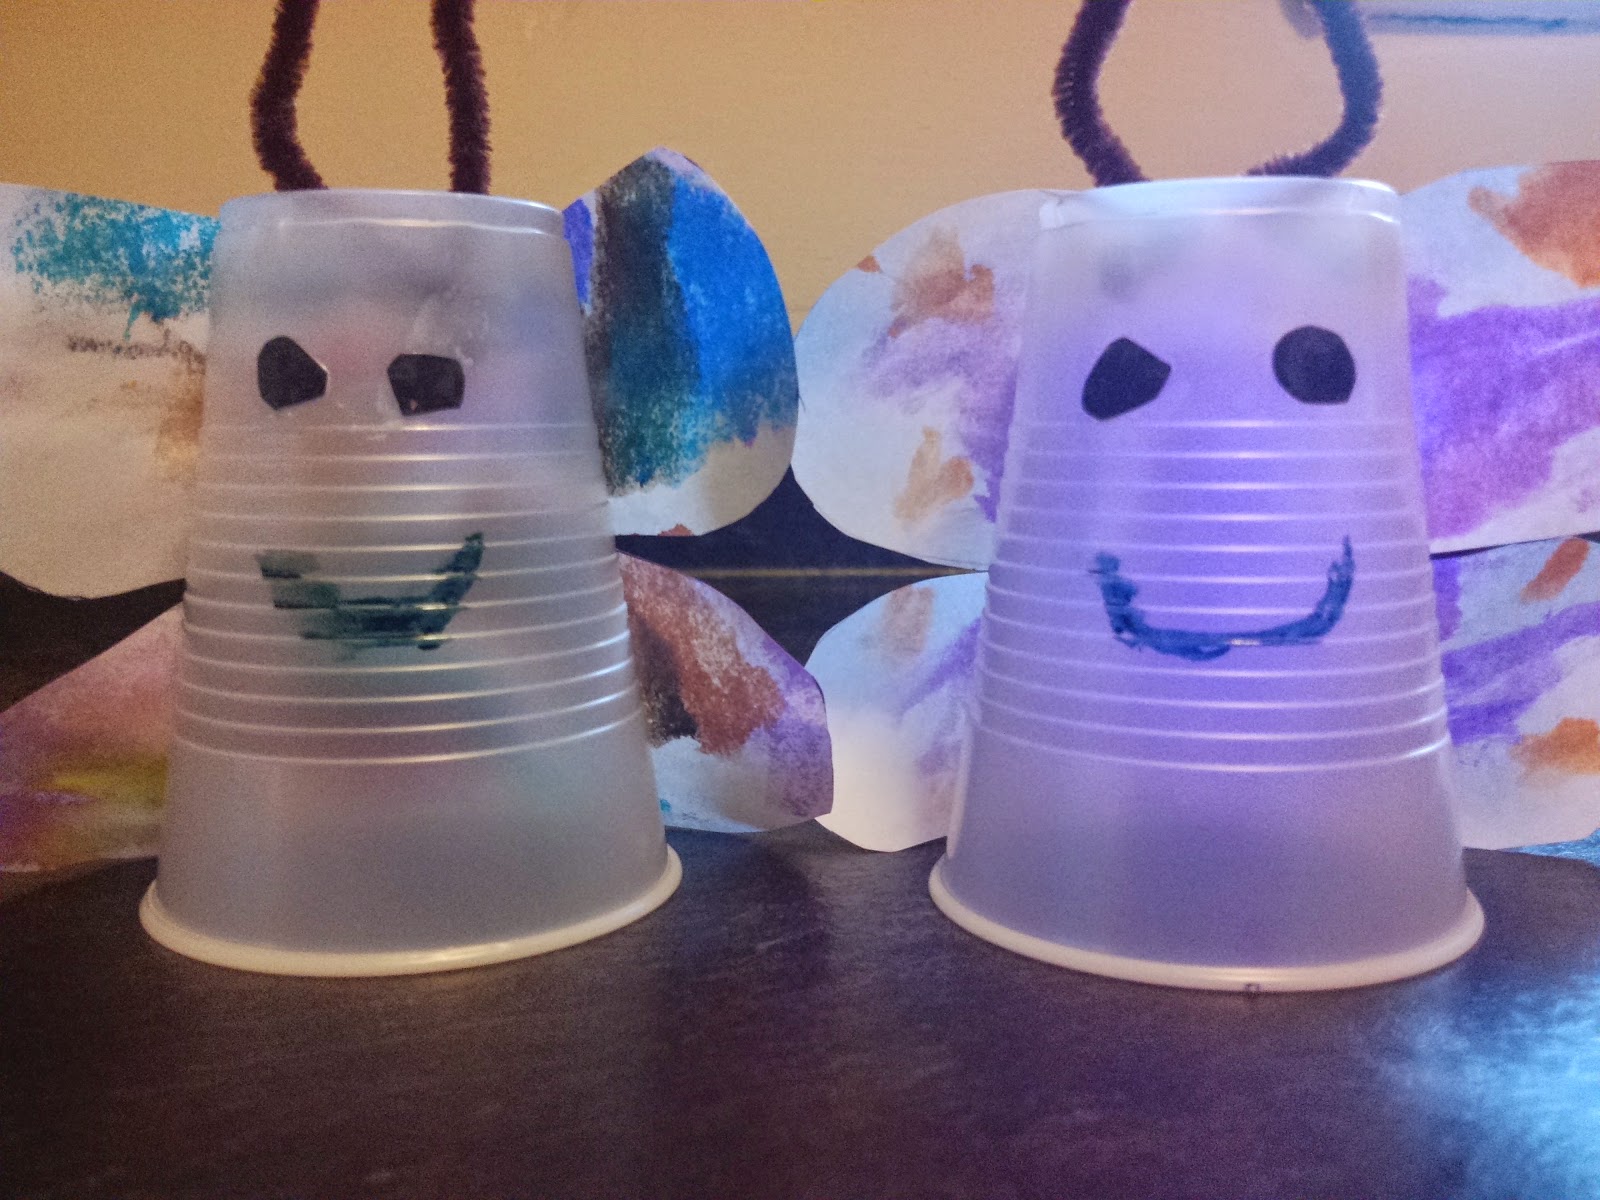
*I started by laying the cup down on the white paper and making a line along the top and bottom of the cup so you know how big to make the wings.

*With the lines in place draw a “B” on each side so it looks like butterfly wings. Cut the wings out and hand them to the kids to decorate.

*While they are decorating the wings (let them paint or color the wings how ever they want to) Make the slits in the top of the cup with scissors for the butterfly antennas.
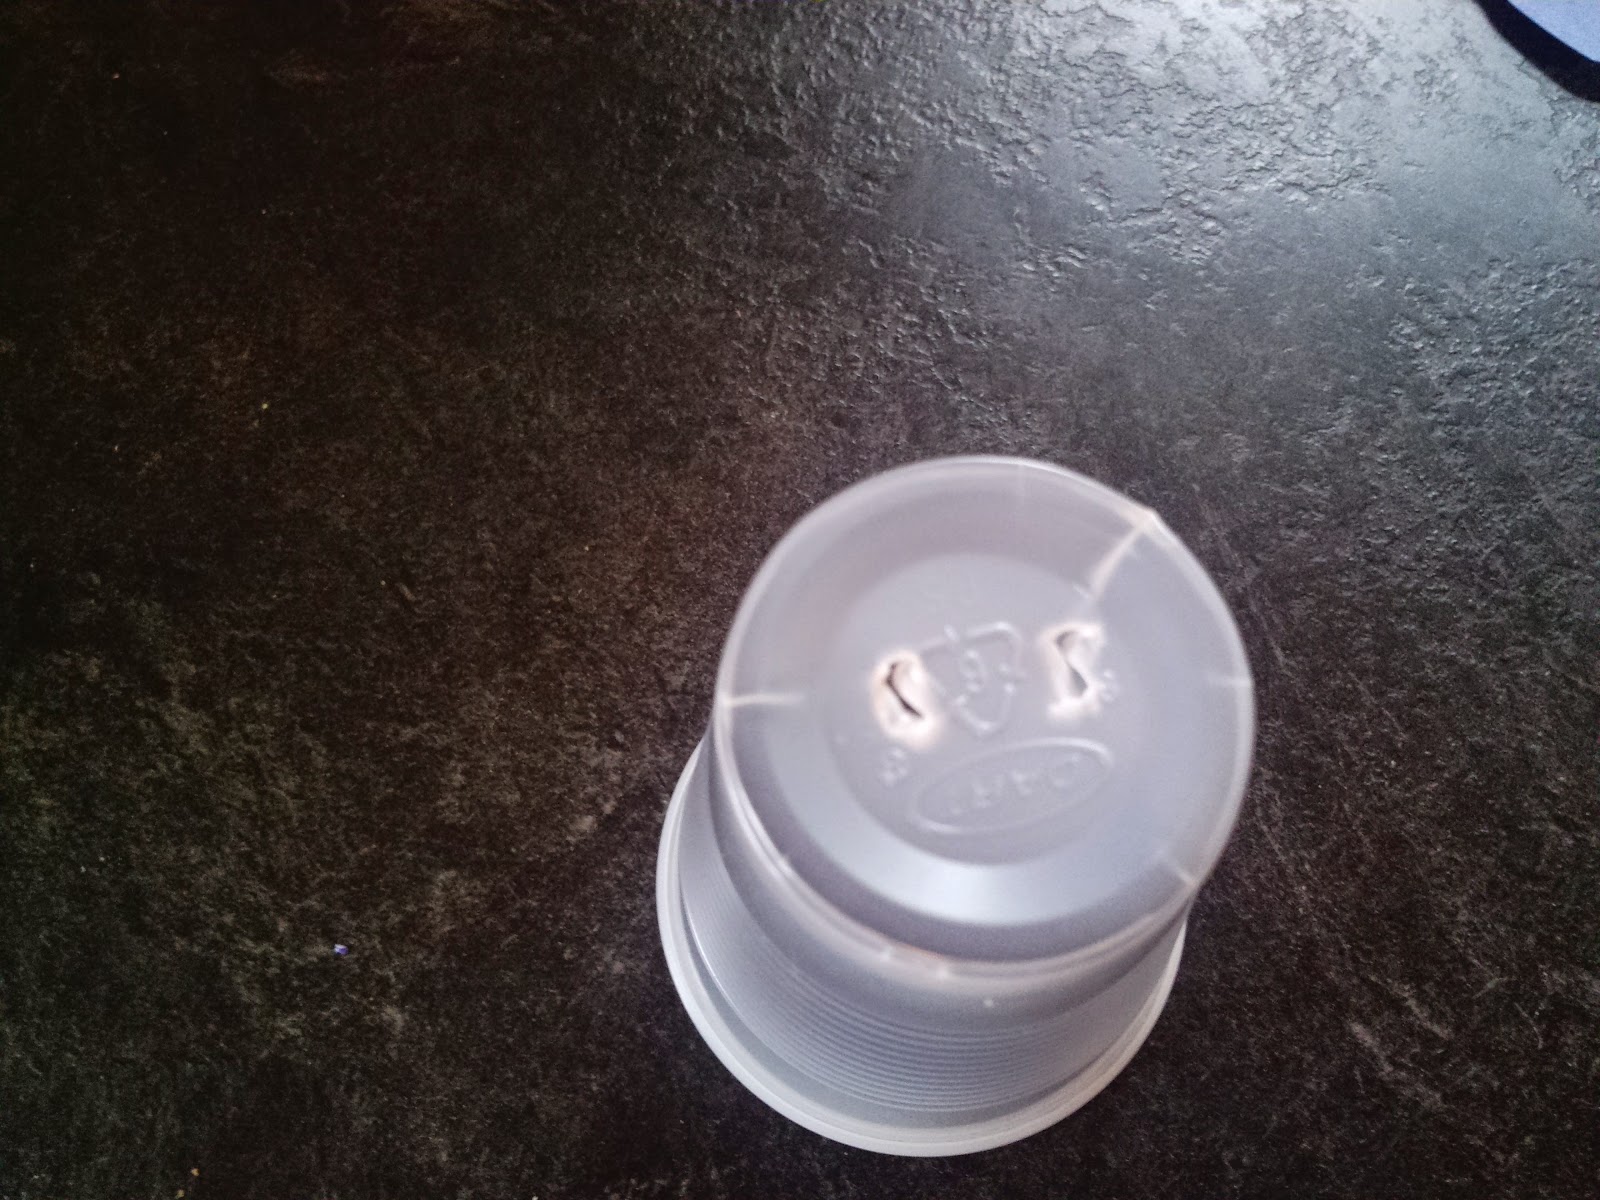
*Cut one full pipe cleaner into 4’s so you have short pipe cleaners. Stick two in each cup for the antennas. **Note: Bend/twist the pipe cleaners together inside the top of the cup to keep them from falling out while they fly around.
*I then let the kids cut out the eyes (On the black construction paper) for the butterfly and let them to glue the eyes on and they drew the mouth on with a black marker.
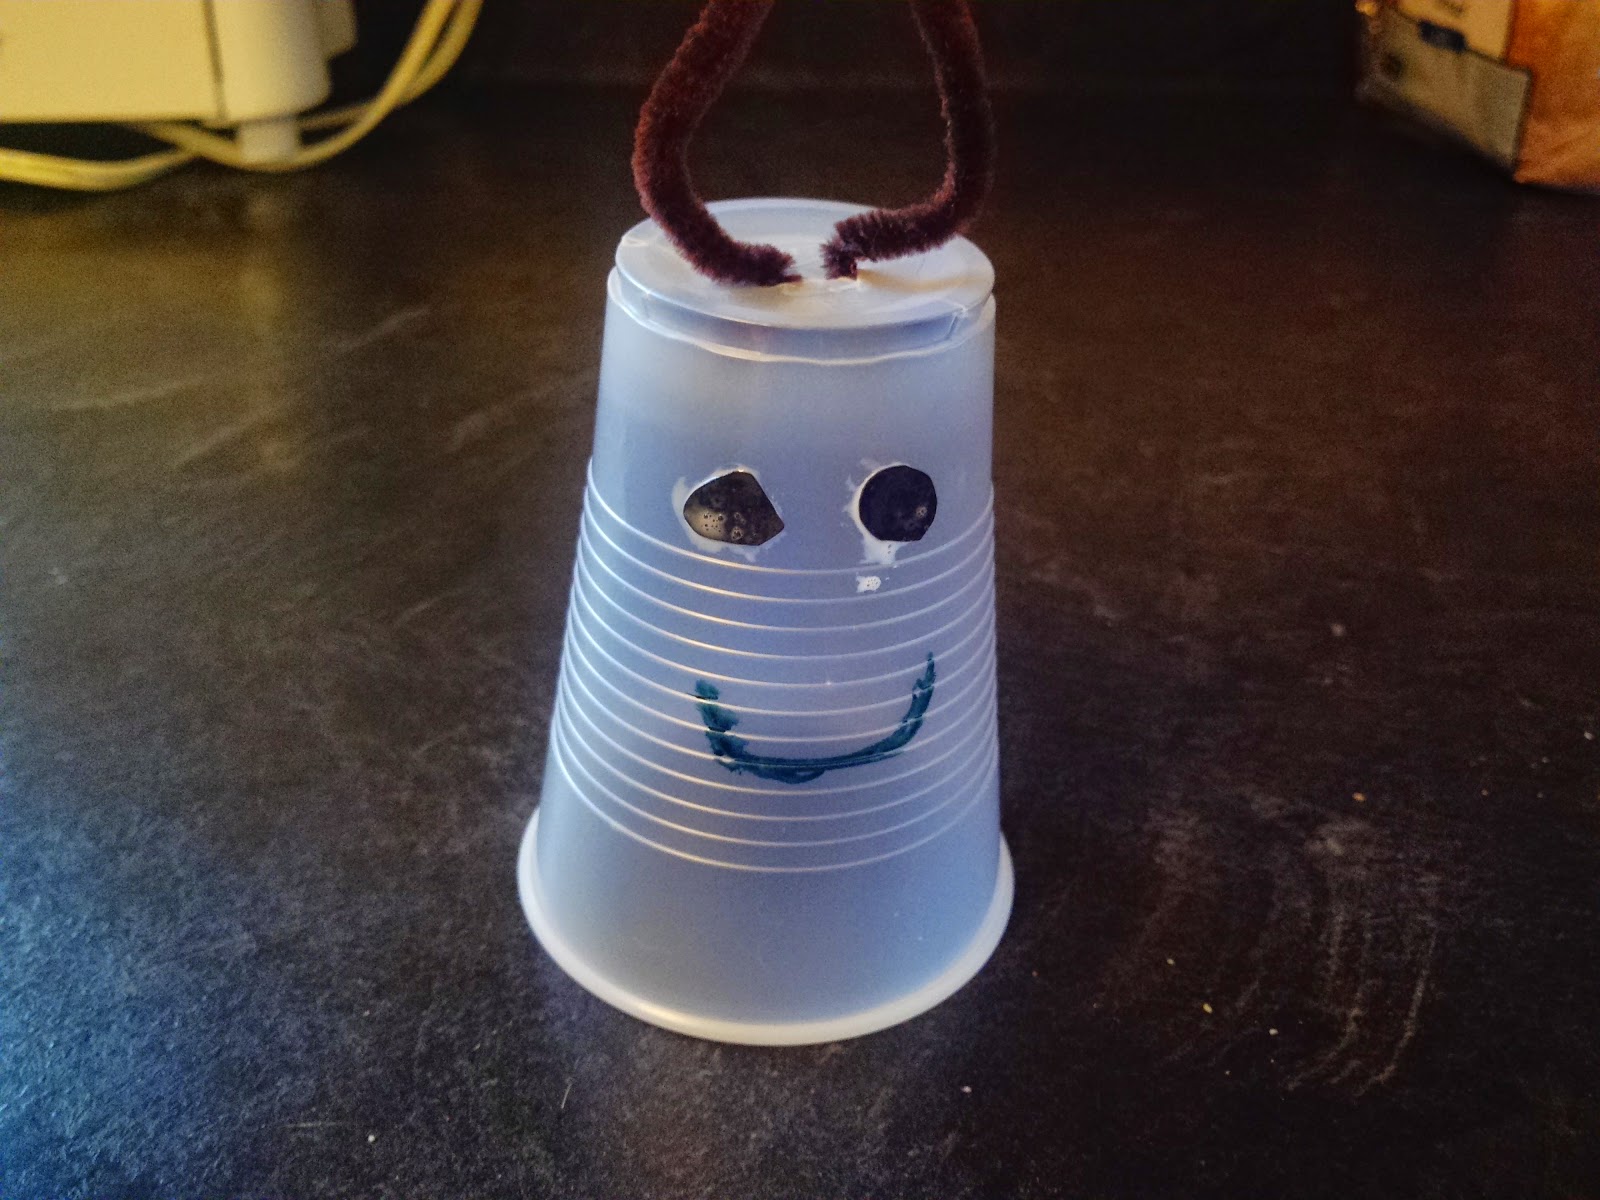
*If your kids painted the butterfly wings, let the wings dry a little, then glue the wings on the back of the cup.
*Your butterflies should now look like this:
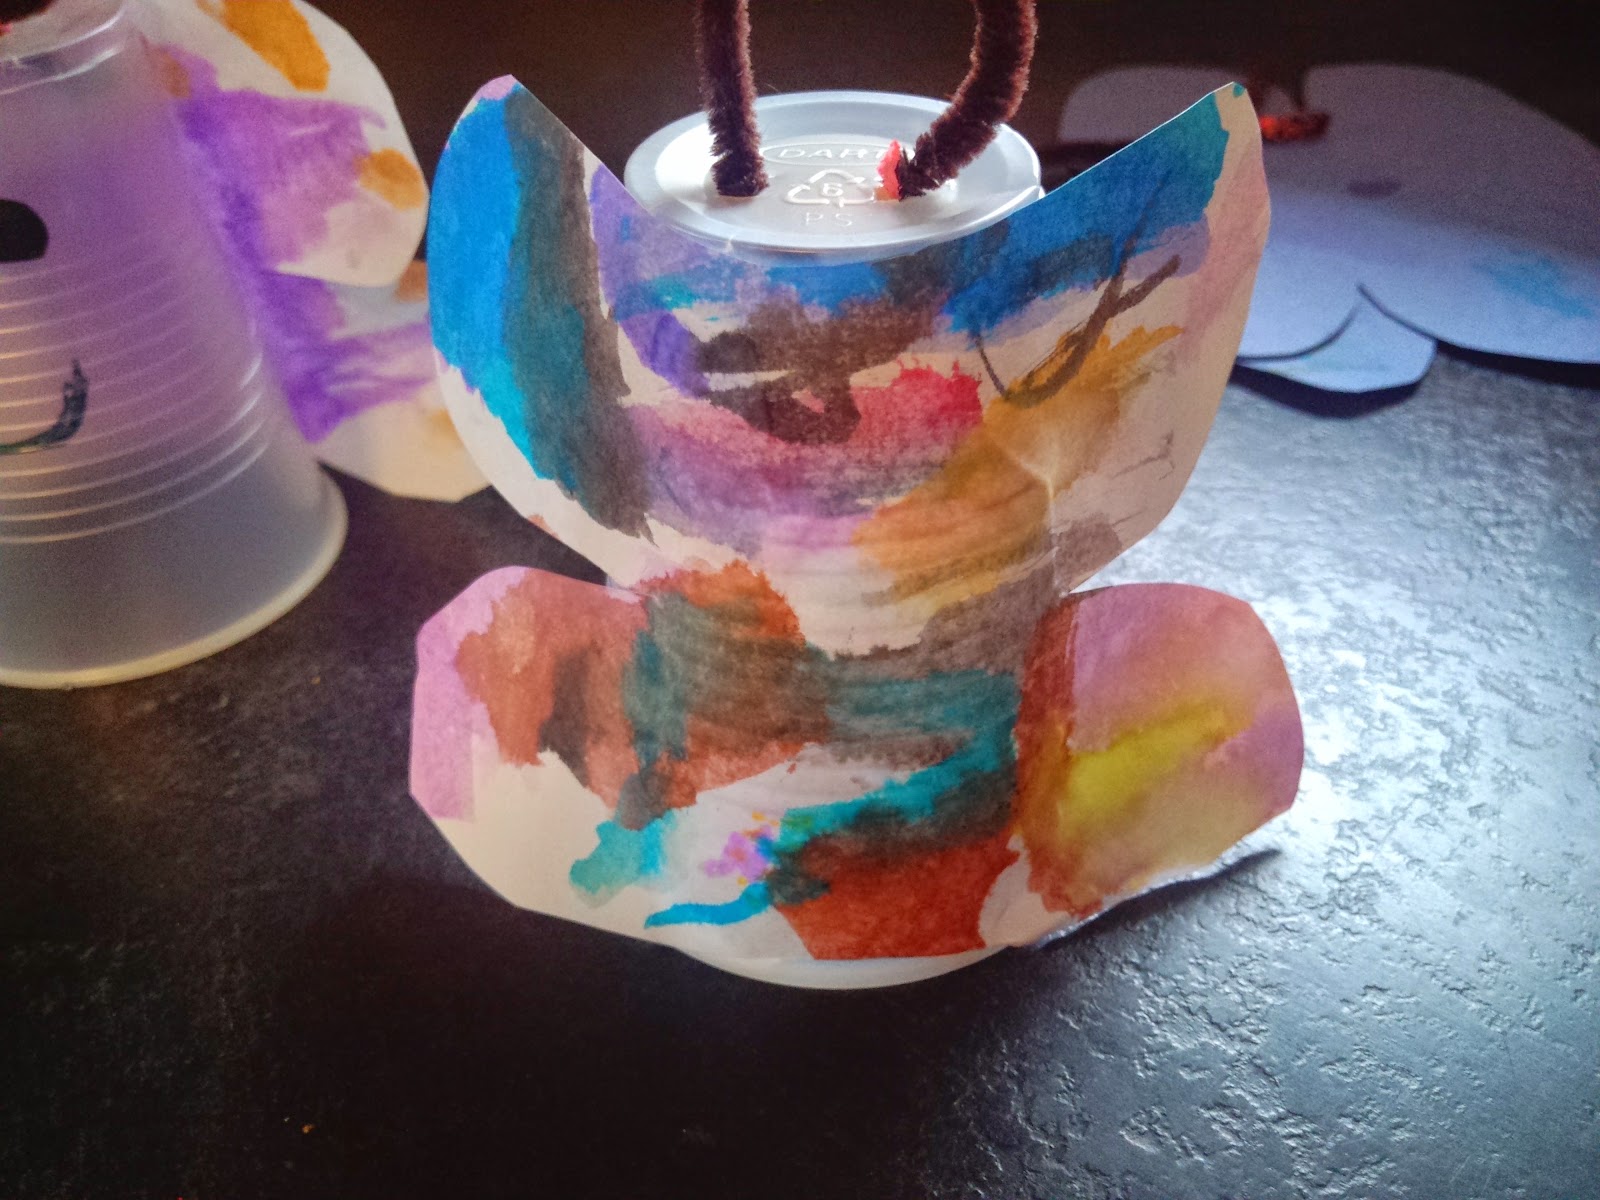
That is what the back should look like..
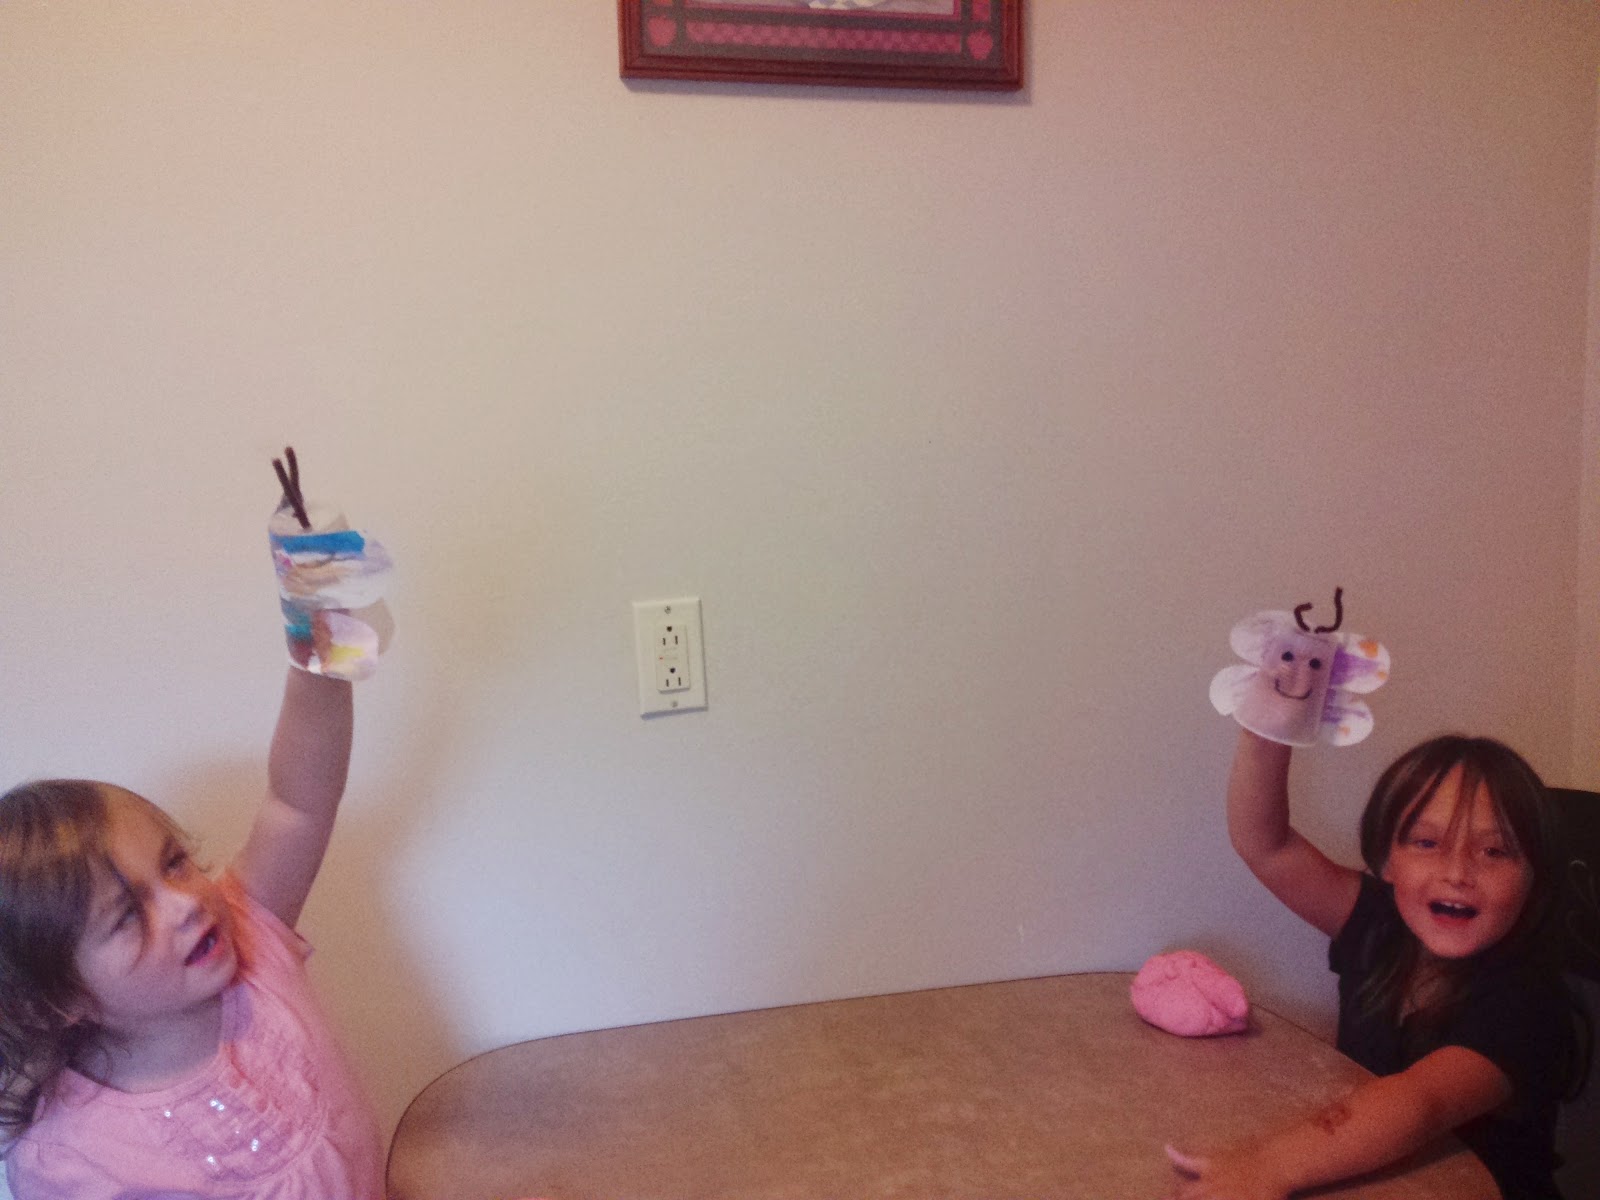
There you have it! Butterfly cup puppets!! Once the glue drys these butterflies are ready to fly around the house! Here is a picture of my girls enjoying their butterflies 🙂
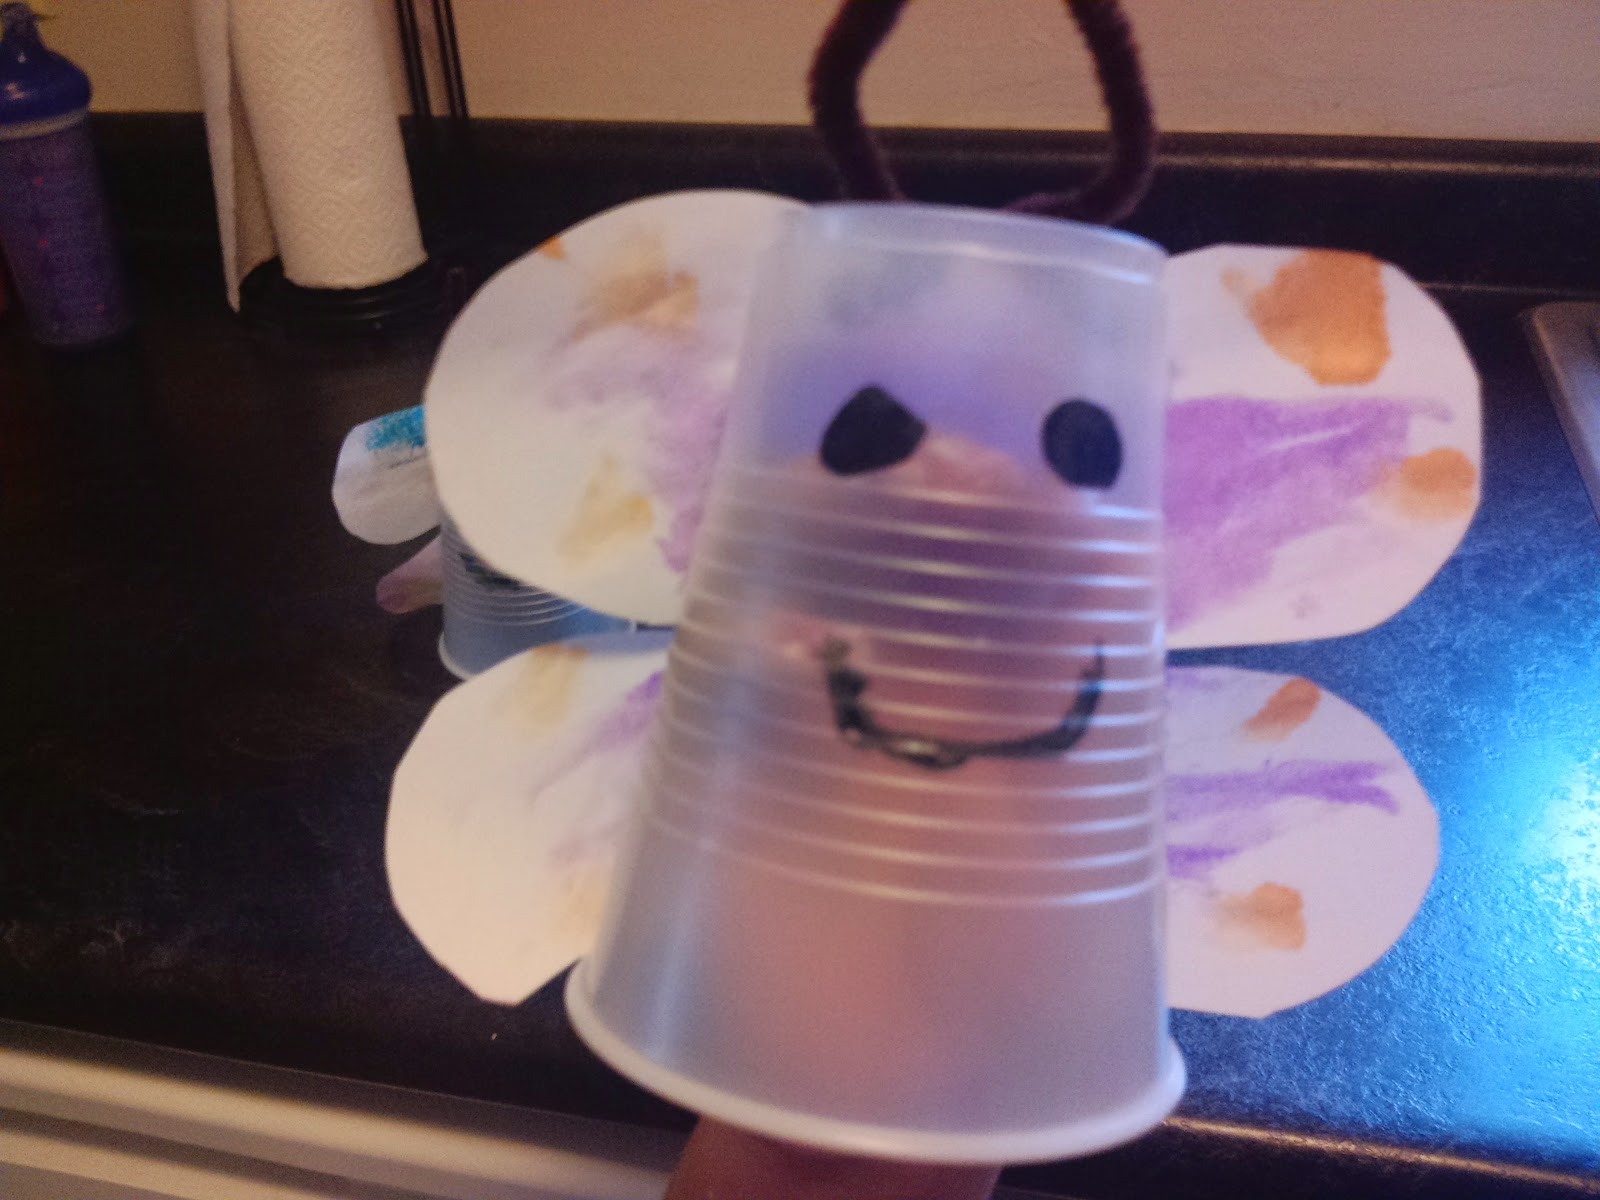
And here’s a close-up:
Have fun creating these cute butterfly cup puppets!!
DIY Sunshine paper plate crafts
Today we are sharing how to make a Sunshine paper plate craft. Perfect craft for Toddlers and Preschoolers.
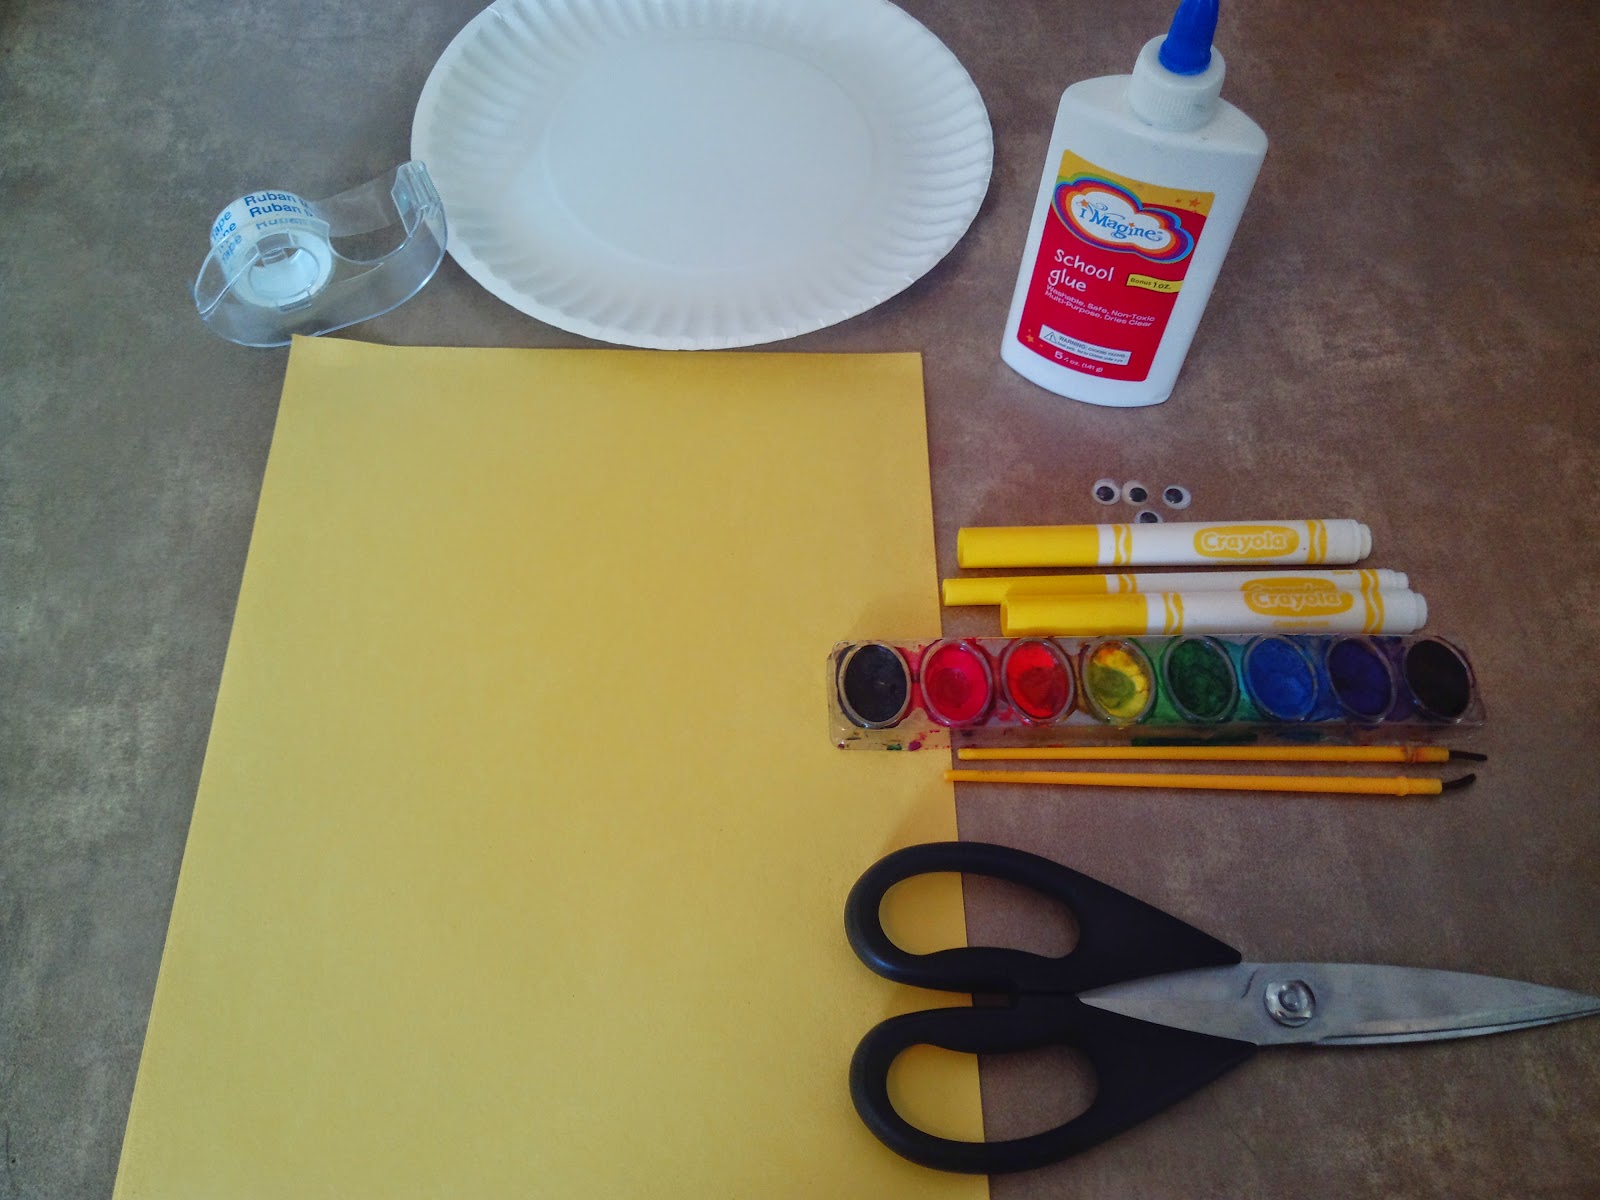
Here is what you need:
1. Paper plates
2. Glue
3. Scissors
4. Markers and paint
5. Googly eyes
6. Tape (if you don’t have glue)
7. Yellow Construction paper
*Start by letting the kids color or paint the back of the paper plate yellow. Cover the whole plate in yellow.

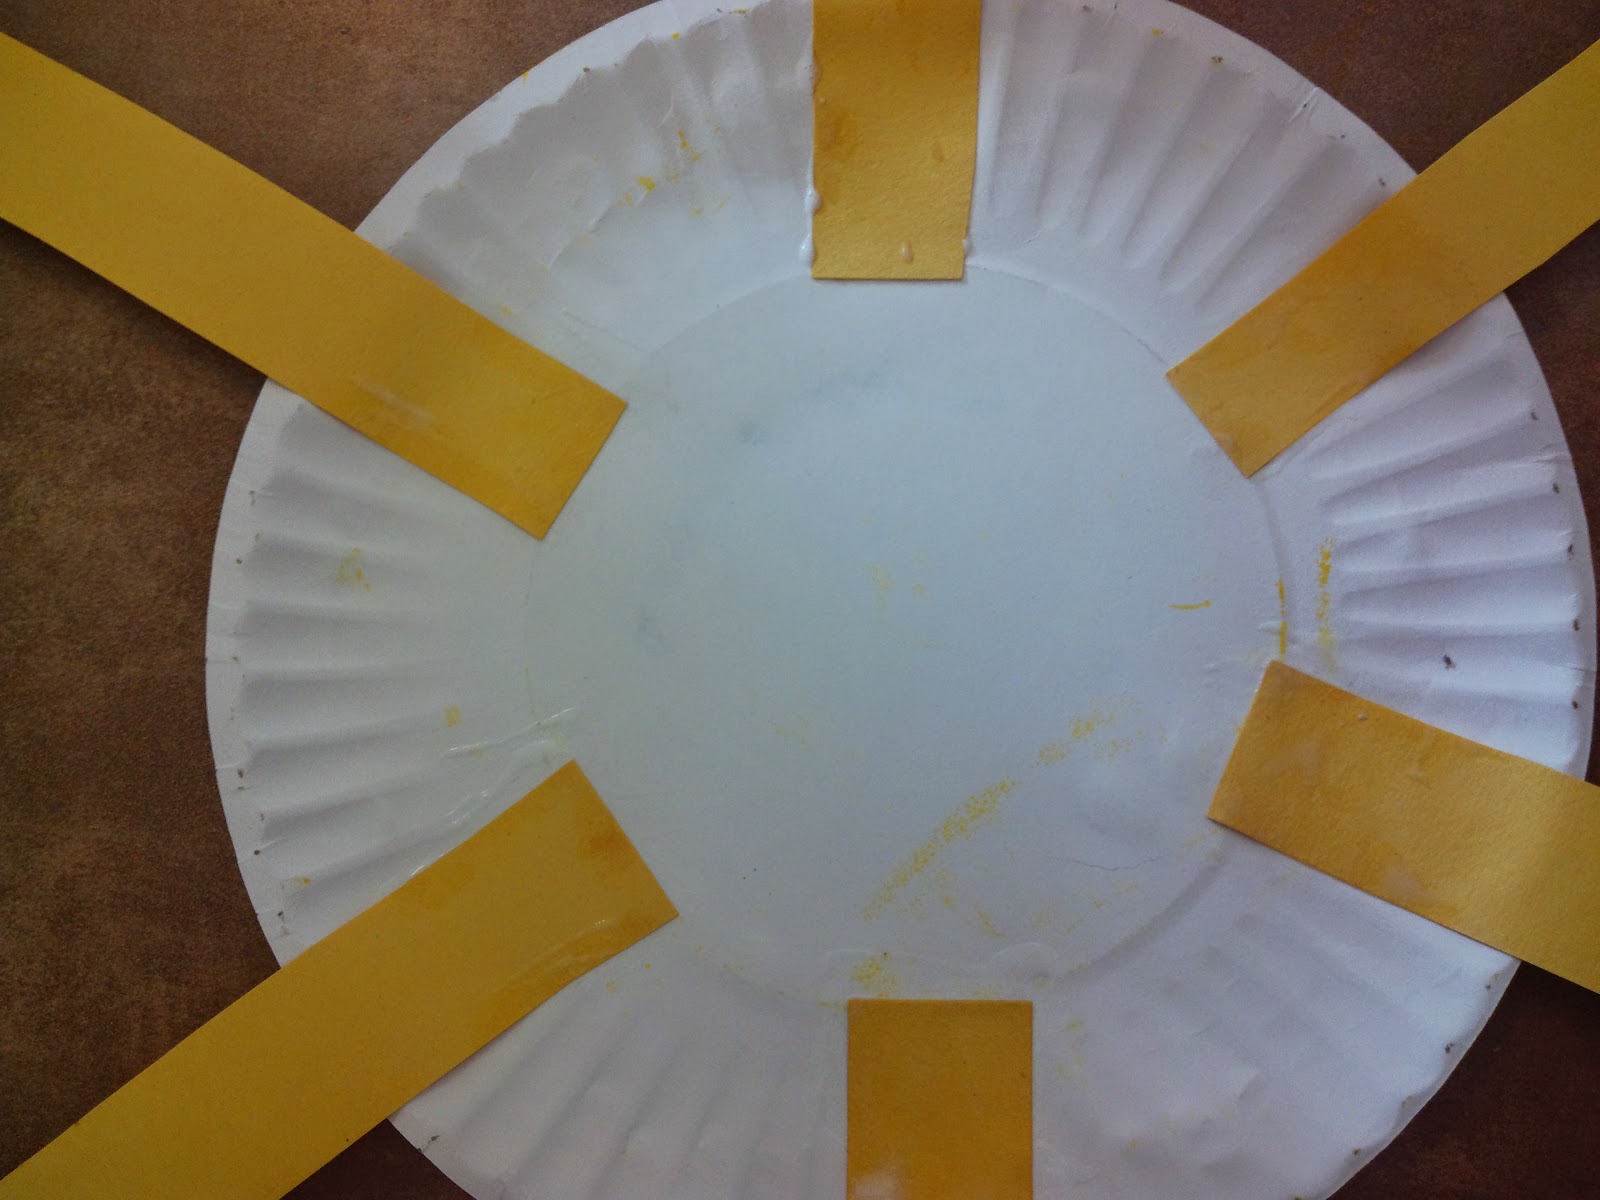
*While the kids were coloring their plates I took that time to cut out the Sunshine Rays. Cut the construction paper into 1 inch wide strips. I needed 6 long strips and 3 long strips cut in half for each Sunshine (paper plate). Your construction paper should look like this when finished:

*Once the kids are done decorating the paper plate its time to glue the Sunshine Rays on.
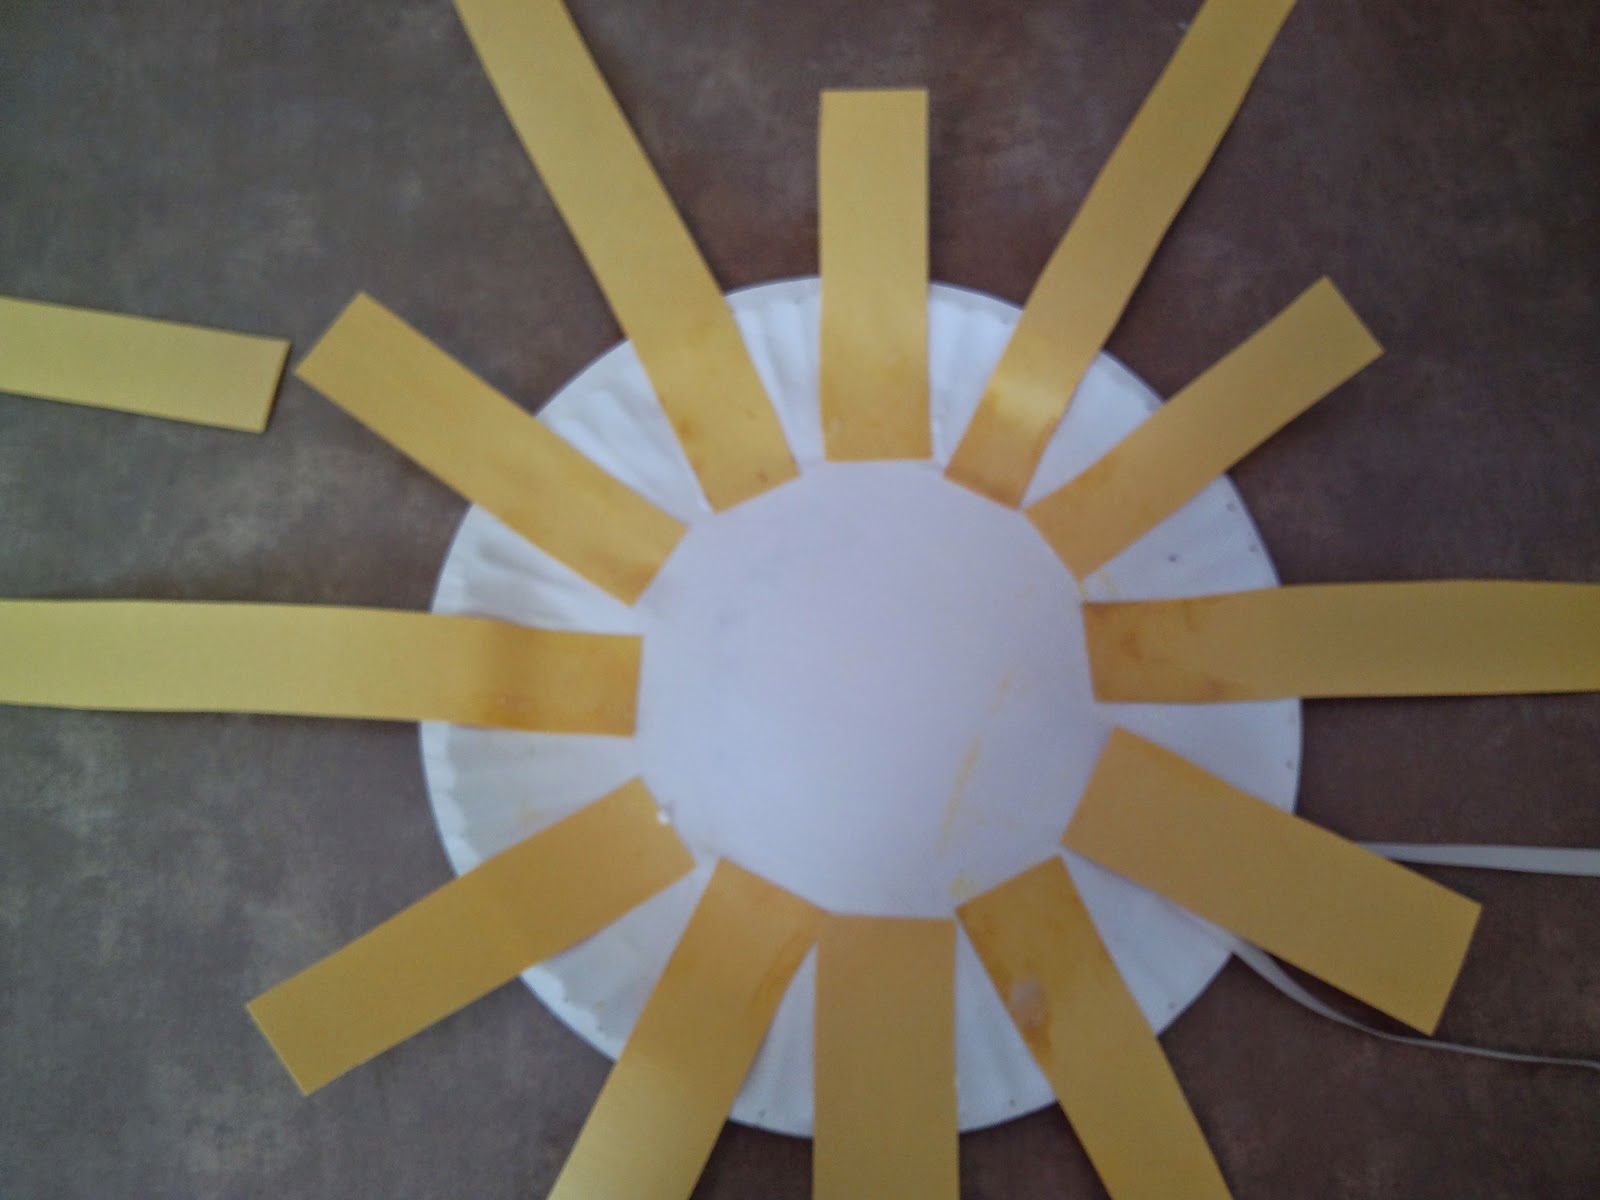
*Flip the paper plate over (so now its right side up) and begin gluing (or taping) the 6 long strips to the paper plate. We placed the strips so they were touching the inside circle of the plate.
*Do the same for the shorter strips. Do this in the pattern of long strip, short strip, long strip, short strip, ect. Like this:
*Once that is done let the glue dry a bit and flip it over to make the Sunshine’s face. Glue the googly eyes in place and let the kids paint on the smile.
*My girls wanted to hang their Sunshine’s up so I found this white ribbon:
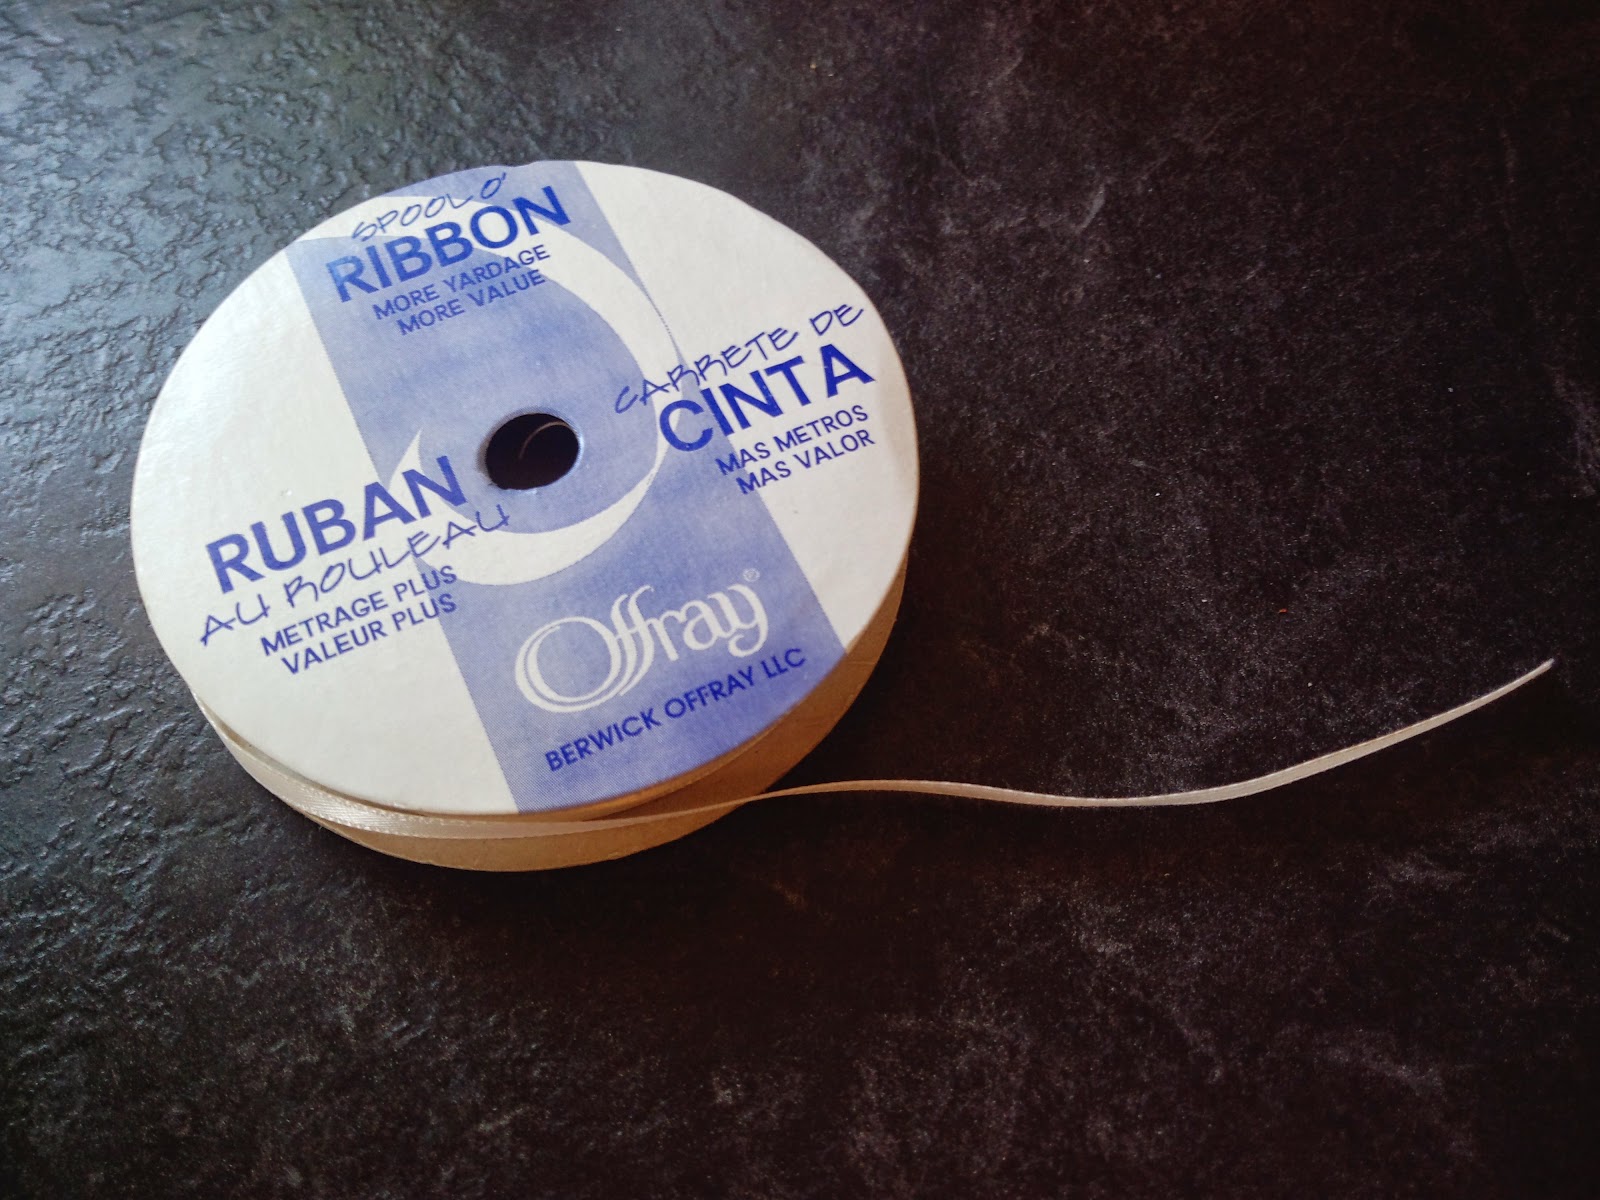
*To make a good looking loop hole you should use a paper hole puncher. I couldn’t find mine at the moment so I just used the scissors and cut a hole in the top of the plate. Then placed the ribbon through the hole and tied a knot in it.
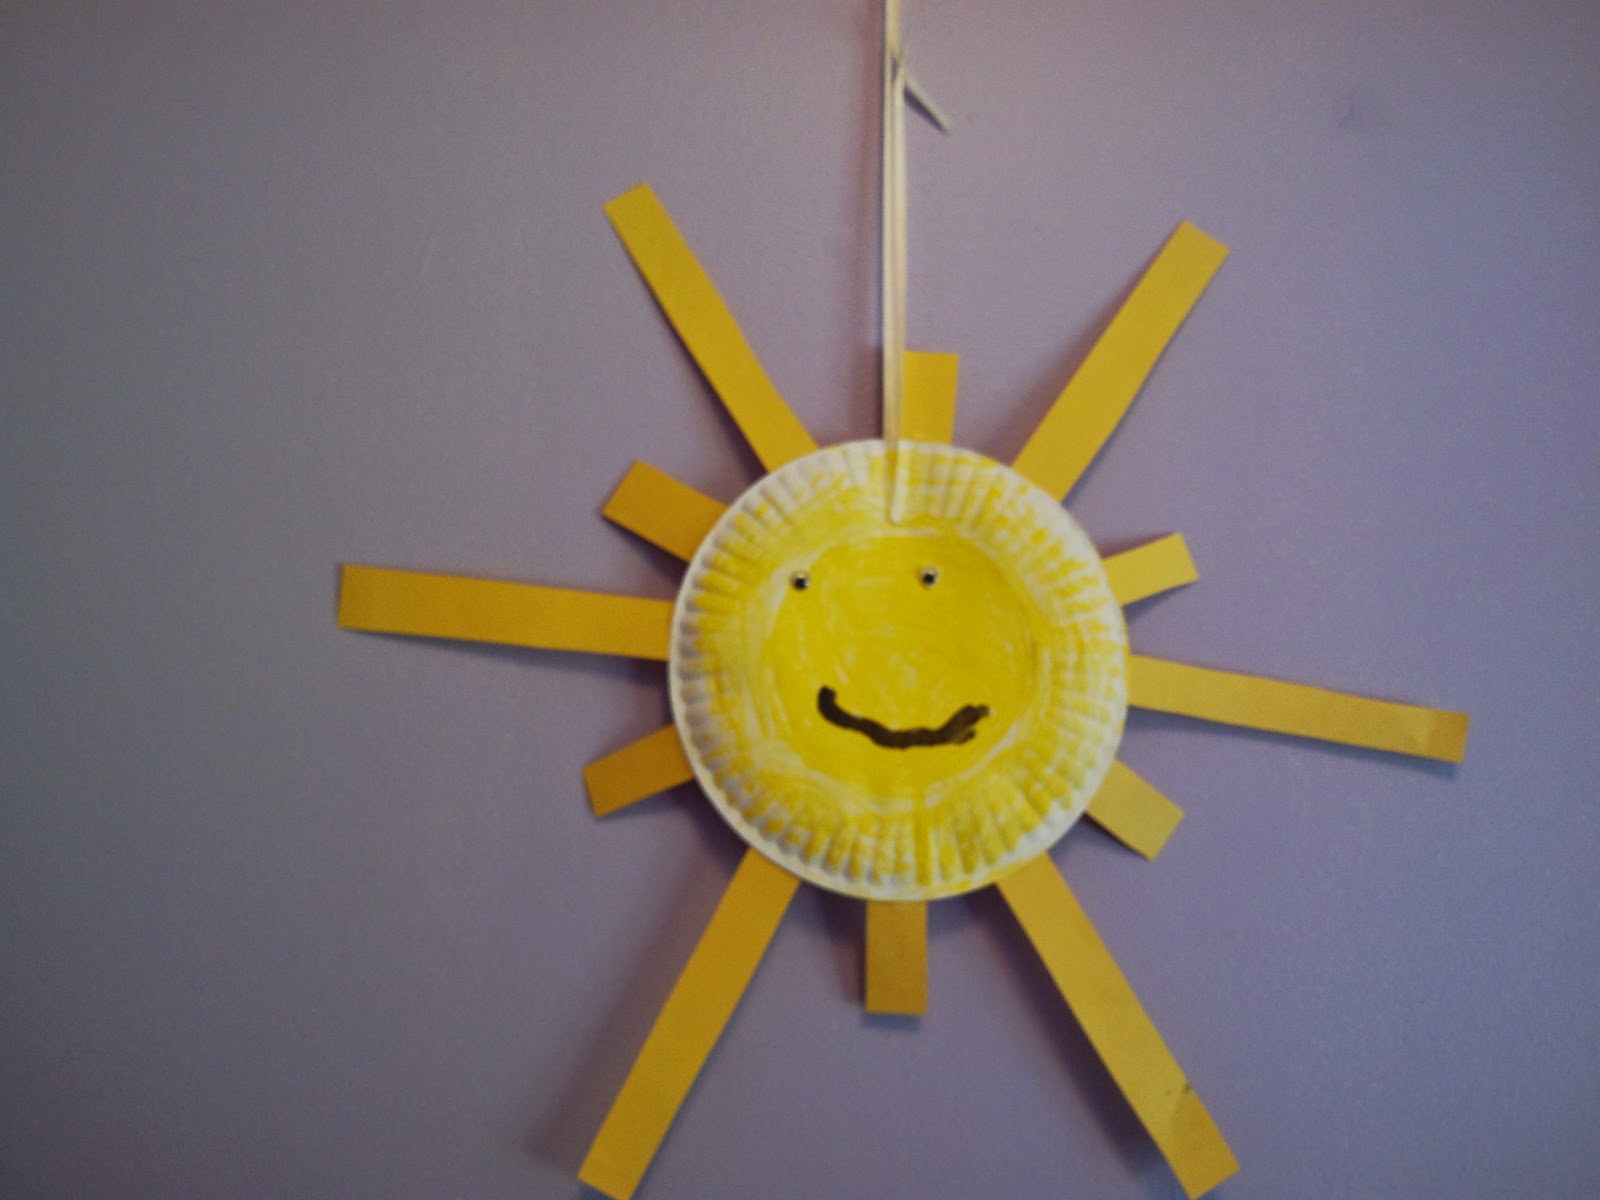
*Now you can hang your beautiful Sunshines!

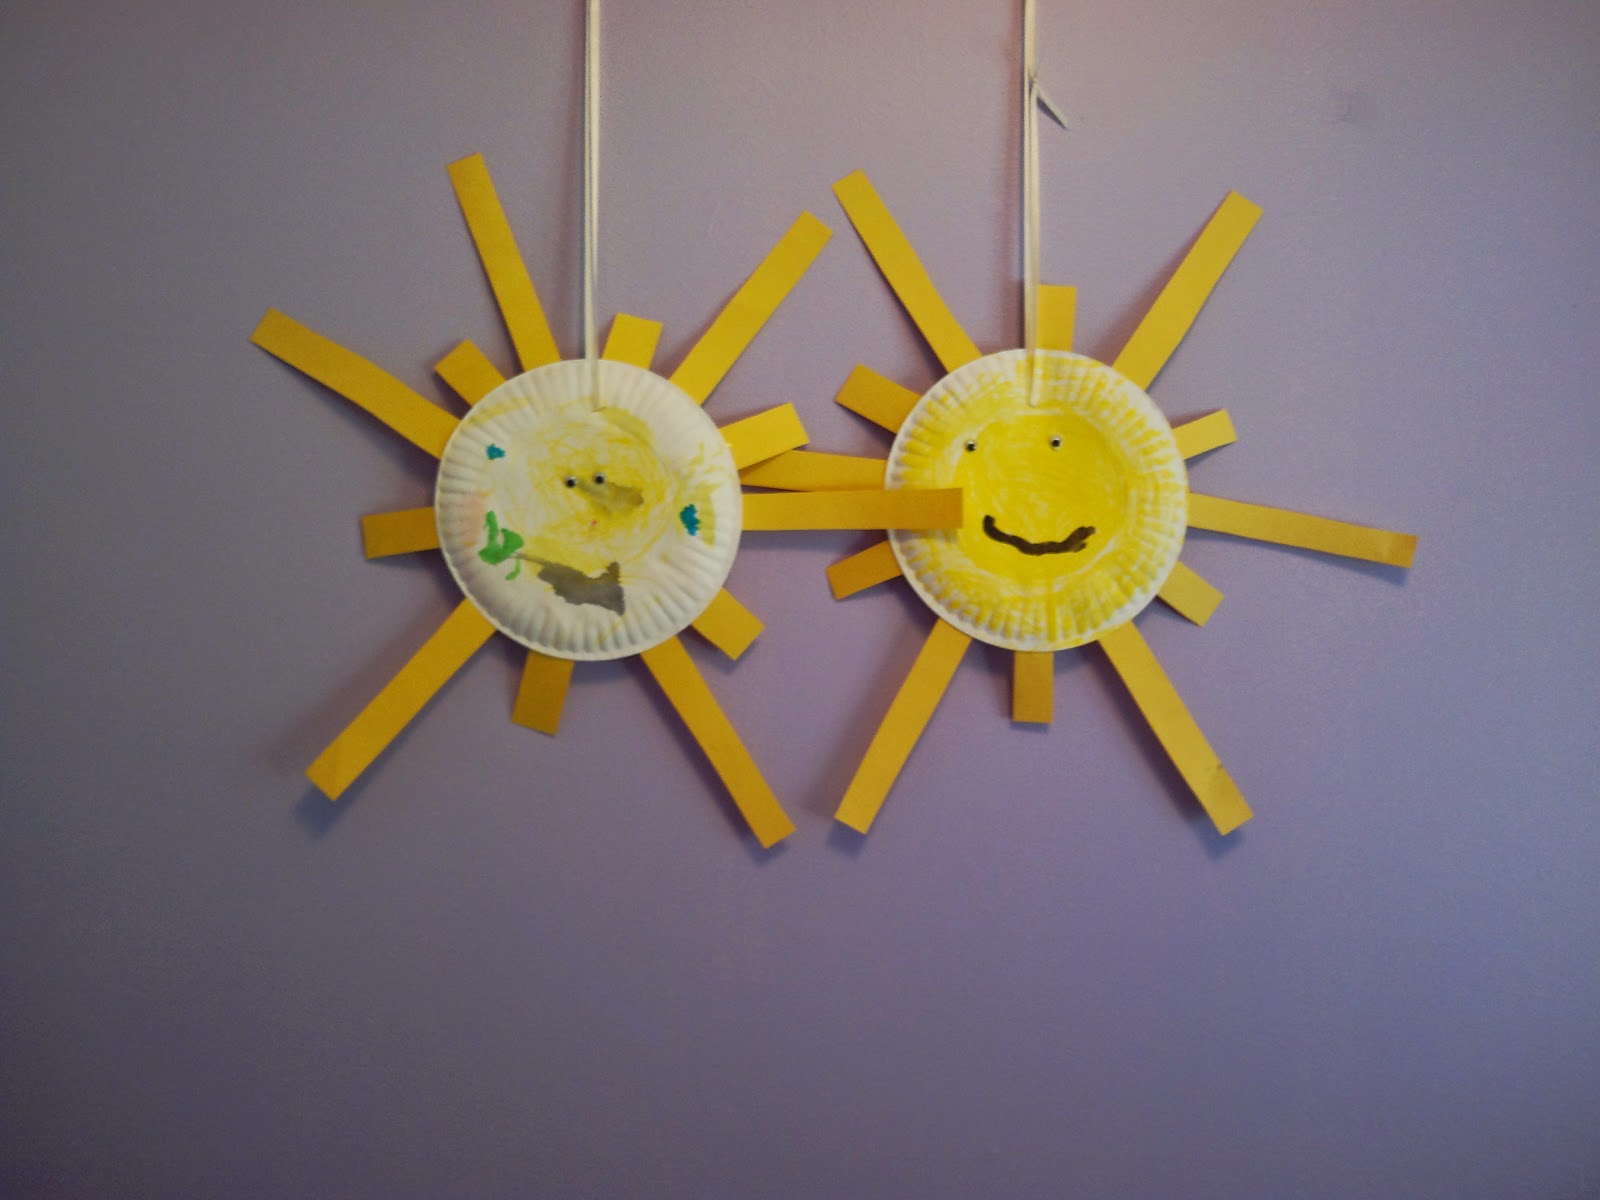
I hope you and your little ones enjoy creating Sunshine! 🙂
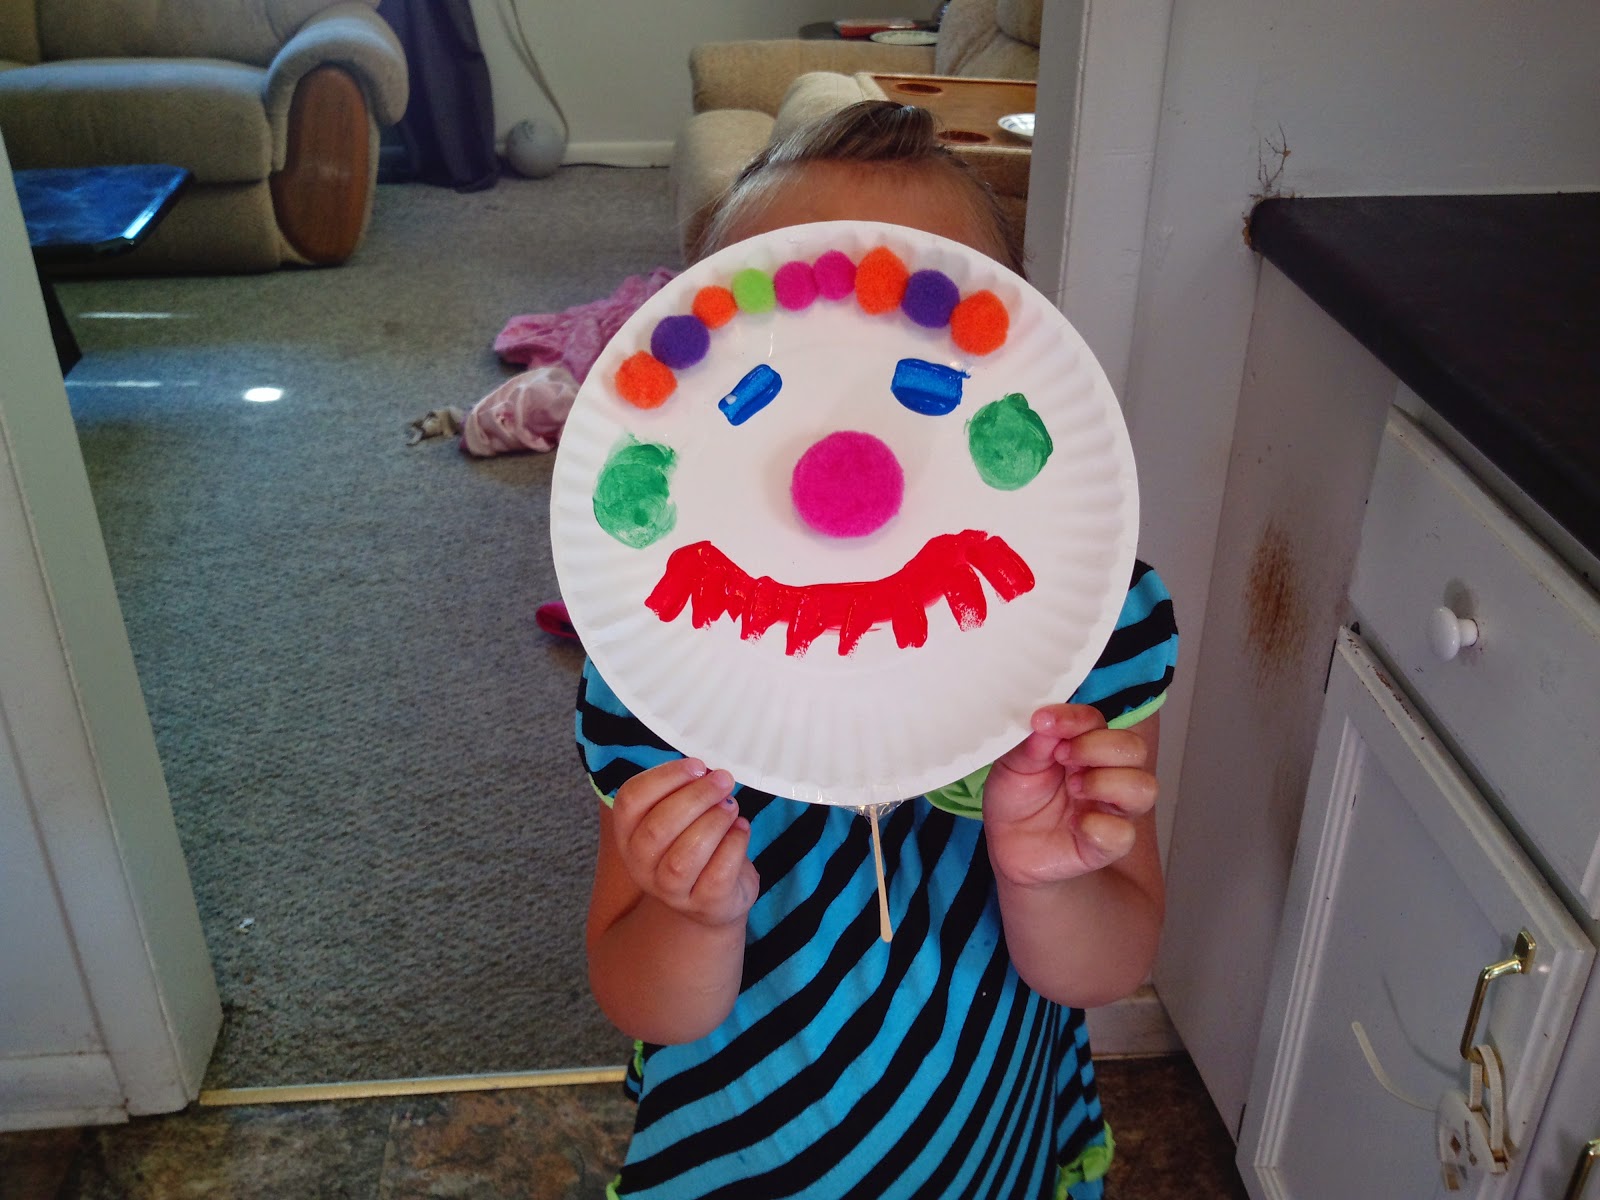
DIY Clown Faces
My girls love our “Craft Hour” each morning. Today we wanted to share how to make a paper plate clown face.
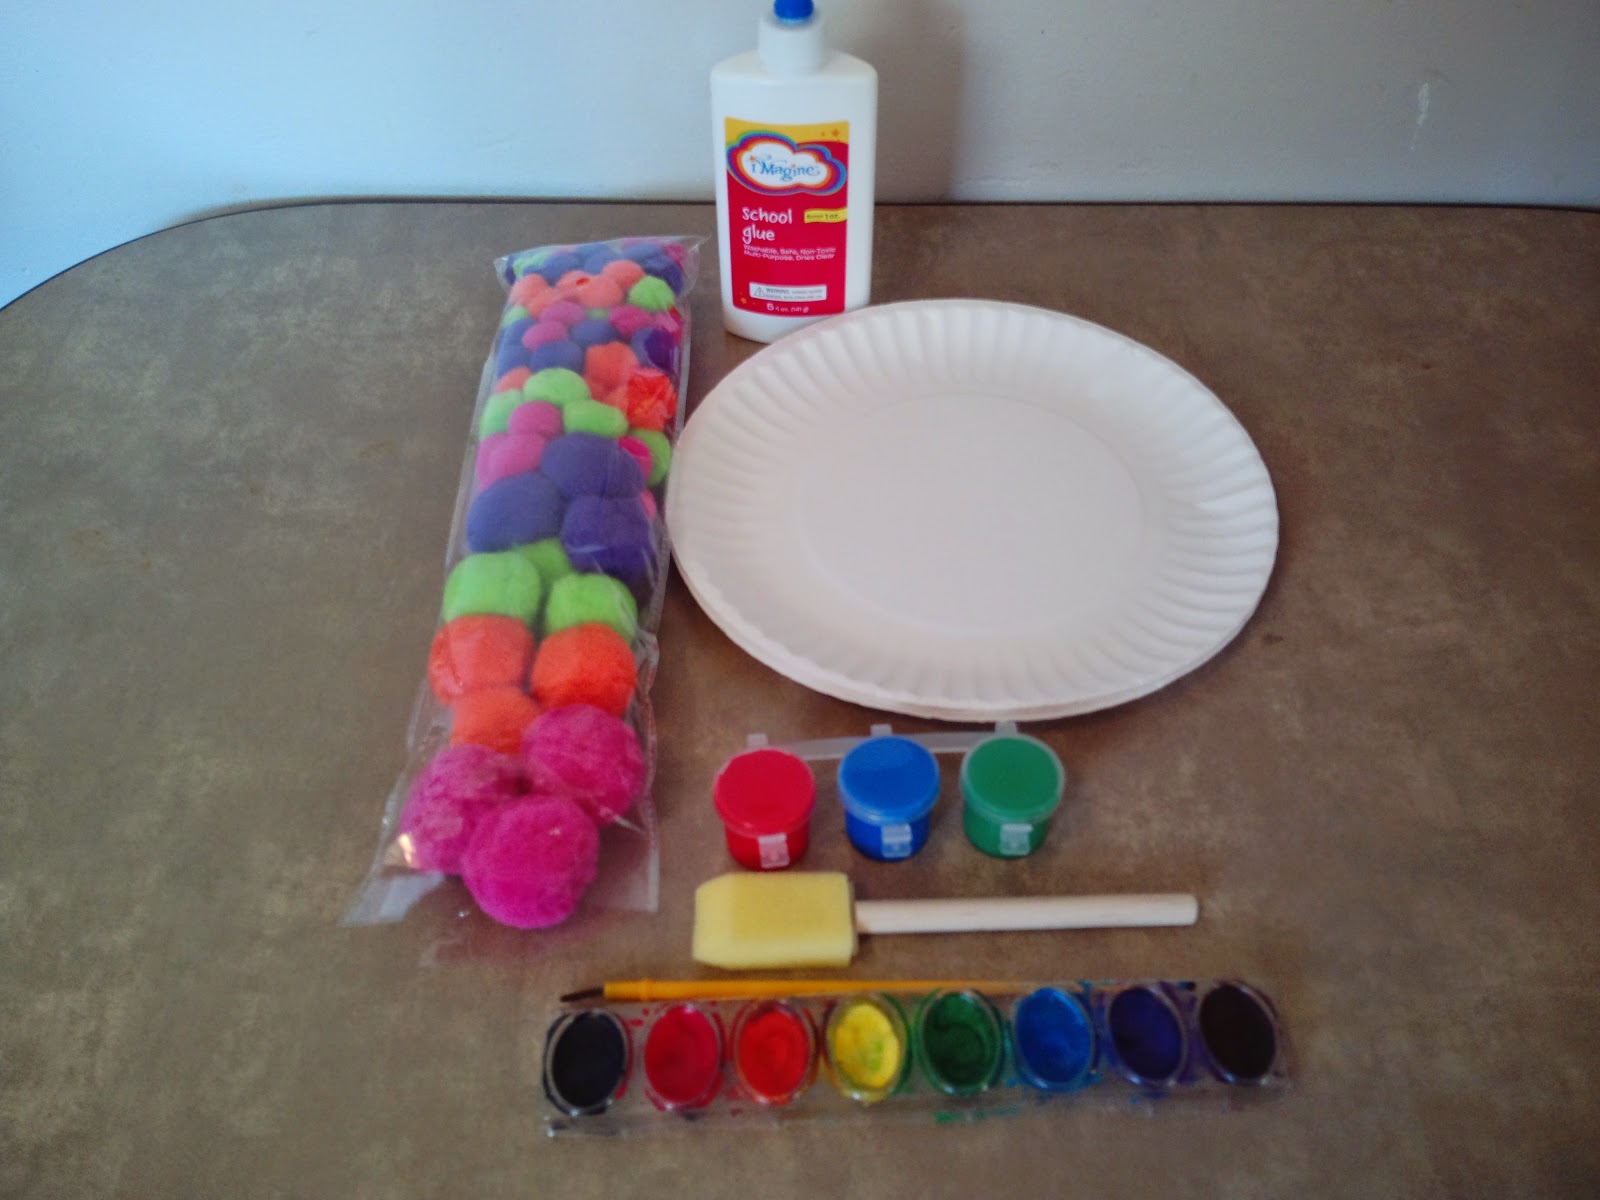
Here is what you will need:
1. Paper plates
2. Pom Poms
3. Paint or markers
4. Glue
5. A craft stick (or Popsicle stick)
6. Tape (optional)
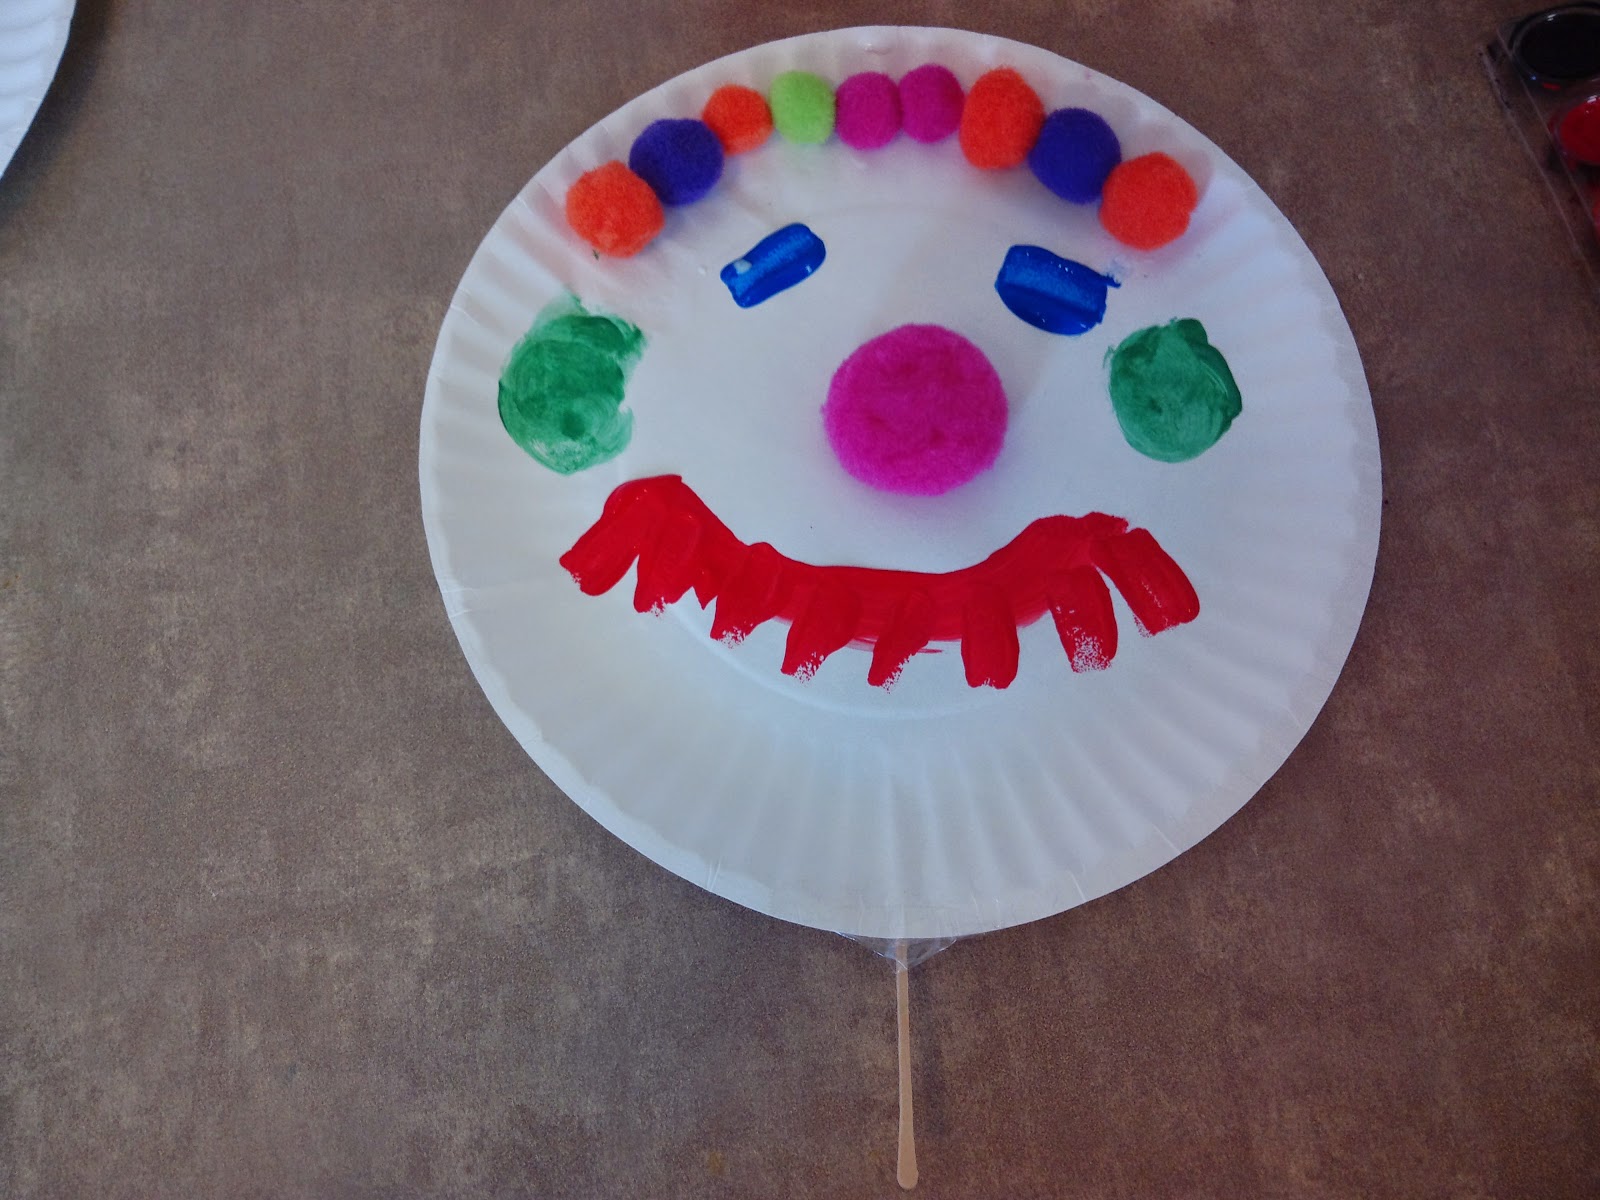
*Start by letting the kids choose if they want pom pom eyes and nose or just painted eyes and a pom pom nose. My girls had to do the opposite of each other today so I’ll show you both lol.
*If you are doing pom pom eyes, help them glue the pom poms in place first. If you are doing painted eyes let the kids paint their eyes on first.
*Once the eyes are in place glue a larger pom pom in the middle for a nose.
*Once the eyes and nose are in place, let the kids paint on the mouth.
My girls agreed on one thing today and that was a painted red mouth (Makayla still had to be different and add teeth).
*You can also use the pom poms to make hair for the clown like Makayla did on hers:
*Or you can leave your clowns hair alone like Kyleigh did:

But Kyleigh had to add pom pom ears and feet to hers 🙂
*Once their clown faces are complete, glue the craft stick to the back of the plate. I noticed this wasn’t very sturdy so I also put a strip of tape over the stick to keep it from moving around.
There you have it! Clown Face paper plates! The girls loved this craft so much they each made about 6 of them and decorated each one differently. I loved this craft as well because it was made with stuff we already had laying around the house! If you don’t have an endless supply of craft stuff laying around.. I have some you can purchase in bulk on my amazon store.
Have fun making your own clown faces!
